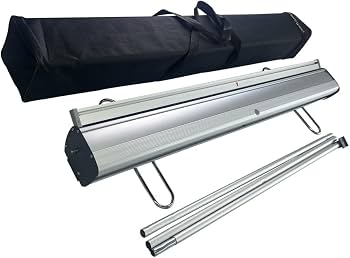
Unpack and inspect your kit
The easiest mistake with Assemble a Roll Up Banner is changing too much at once. Rename devices, move networks, update firmware, or adjust permissions one at a time. When setup fails, the last change should be obvious enough to undo without rebuilding the whole configuration. Do not treat a successful app screen as the final test. Use the physical control, the app, and any connected automation to confirm the setup works from every path the reader will actually use.
The simplest way to use this section is to keep the setup small, verify each change, and record the stable configuration before adding optional accessories.
Assemble the telescopic pole
The telescopic pole is the backbone of your roll up banner. If this part isn’t assembled correctly, the entire display will wobble or collapse when you try to raise the graphic. Most modern roll ups use a three-segment pole that extends smoothly, but it requires a specific technique to lock securely without damaging the threads.
If your roll up pole uses a twist-lock mechanism instead of a push-button lock, simply twist each segment clockwise until it stops. Do not overtighten, as this can damage the threads. Always refer to your specific model’s manual if you are unsure about the locking mechanism.
With the pole assembled and stable, you are ready to attach the banner graphic. Ensure the pole is standing upright on a flat, stable surface before proceeding to the next step.
Insert the banner into the pole
Sliding the fabric sleeve over the pole requires patience and a steady hand. The goal is to keep the material flat and free of creases as it travels down the telescopic tube. Rushing this step often results in twisted fabric or, worse, a tear in the print.
Start by fully extending the pole to its maximum length. This gives you the most control and prevents the pole from buckling under the weight of the banner. Hold the top edge of the banner sleeve with both hands, keeping the fabric taut but not stretched.
Align the top opening of the sleeve with the very top of the pole. Gently slide the fabric down, letting it fall naturally over the tube. Use your fingers to smooth out any wrinkles as you go, ensuring the print remains straight and centered. Do not force the fabric if you encounter resistance; check for twists before proceeding.
Continue sliding the banner until the bottom hem reaches the base of the pole. Once the fabric is fully seated, you can begin securing it to the base unit. This method ensures a smooth, professional finish without damaging your roll-up display.
Secure the base and tension the fabric
With the main pole inserted, the banner’s stability depends entirely on how you anchor the bottom. A loose base is the primary cause of roll-up banners tipping over or sagging, ruining the professional look you need for your event.
Lock the base plate
Most roll-up banners feature a hinged base plate that folds flat for transport. To secure it, unfold the legs until they click into place. Ensure the plate sits completely flat against the floor; if the carpet is uneven, you may need to adjust the leg spread to prevent wobbling. Tighten any thumb screws on the base mechanism firmly—this prevents the legs from collapsing under the banner's weight.
Adjust the tension mechanism
Once the base is locked, focus on the fabric. Locate the tensioning knob or lever, typically found at the base or along the side rails. Turn or engage it until the fabric pulls taut. You want the material smooth and wrinkle-free, but avoid over-tightening, which can stress the springs or tear the print. The banner should stand upright with a slight, uniform tension across its surface.
-
Base plate fully unfolded and flat
-
Legs stable on floor surface
-
Fabric taut with no visible wrinkles
-
Tension mechanism locked securely
Common assembly mistakes to avoid
The easiest mistake with Assemble a Roll Up Banner is comparing options on the most visible detail while ignoring the day-to-day constraint. A choice can look strong on paper and still fail because it is too hard to maintain, too expensive to repeat, or awkward in the actual setting. Use the same checklist for every option: fit, cost, durability, timing, upkeep, and fallback plan. That keeps the comparison practical instead of drifting into preference alone.
The simplest way to use this section is to write down the real constraint first, compare each option against it, and choose the path that still works outside ideal conditions.
Where to buy roll up banners
Finding the right hardware is the difference between a sturdy display and a frustrating collapse. You have two main paths for sourcing roll-up banners: buying a complete kit for immediate use or ordering a custom print with a compatible stand.
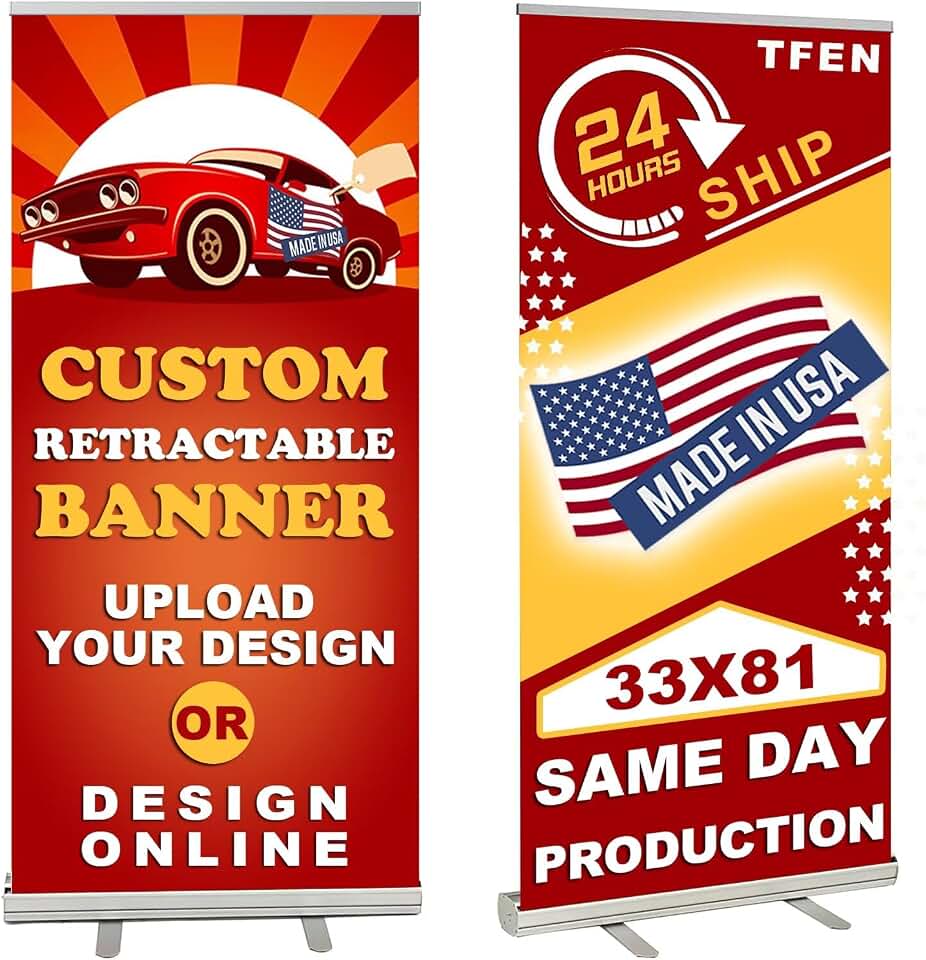
Ready-made display kits
All-in-one kits are the fastest route to a professional look. These packages include the graphic, the aluminum casing, and the base. Look for models with wide, weighted bases to prevent tipping during busy events. Many reputable suppliers offer standard sizes like 33x80 inches or 80x200 centimeters, which are the industry norms for trade shows.
Custom print and stand combos
If you need specific branding or high-resolution imagery, order a custom graphic separately. Ensure the print shop specifies compatibility with common stand mechanisms, such as the standard spring-loaded cassette or the friction-fit X-frame. Buying the stand and graphic separately allows you to replace just the damaged part if the banner fabric tears, saving money over time.

As an Amazon Associate, we may earn from qualifying purchases.
No comments yet. Be the first to share your thoughts!