
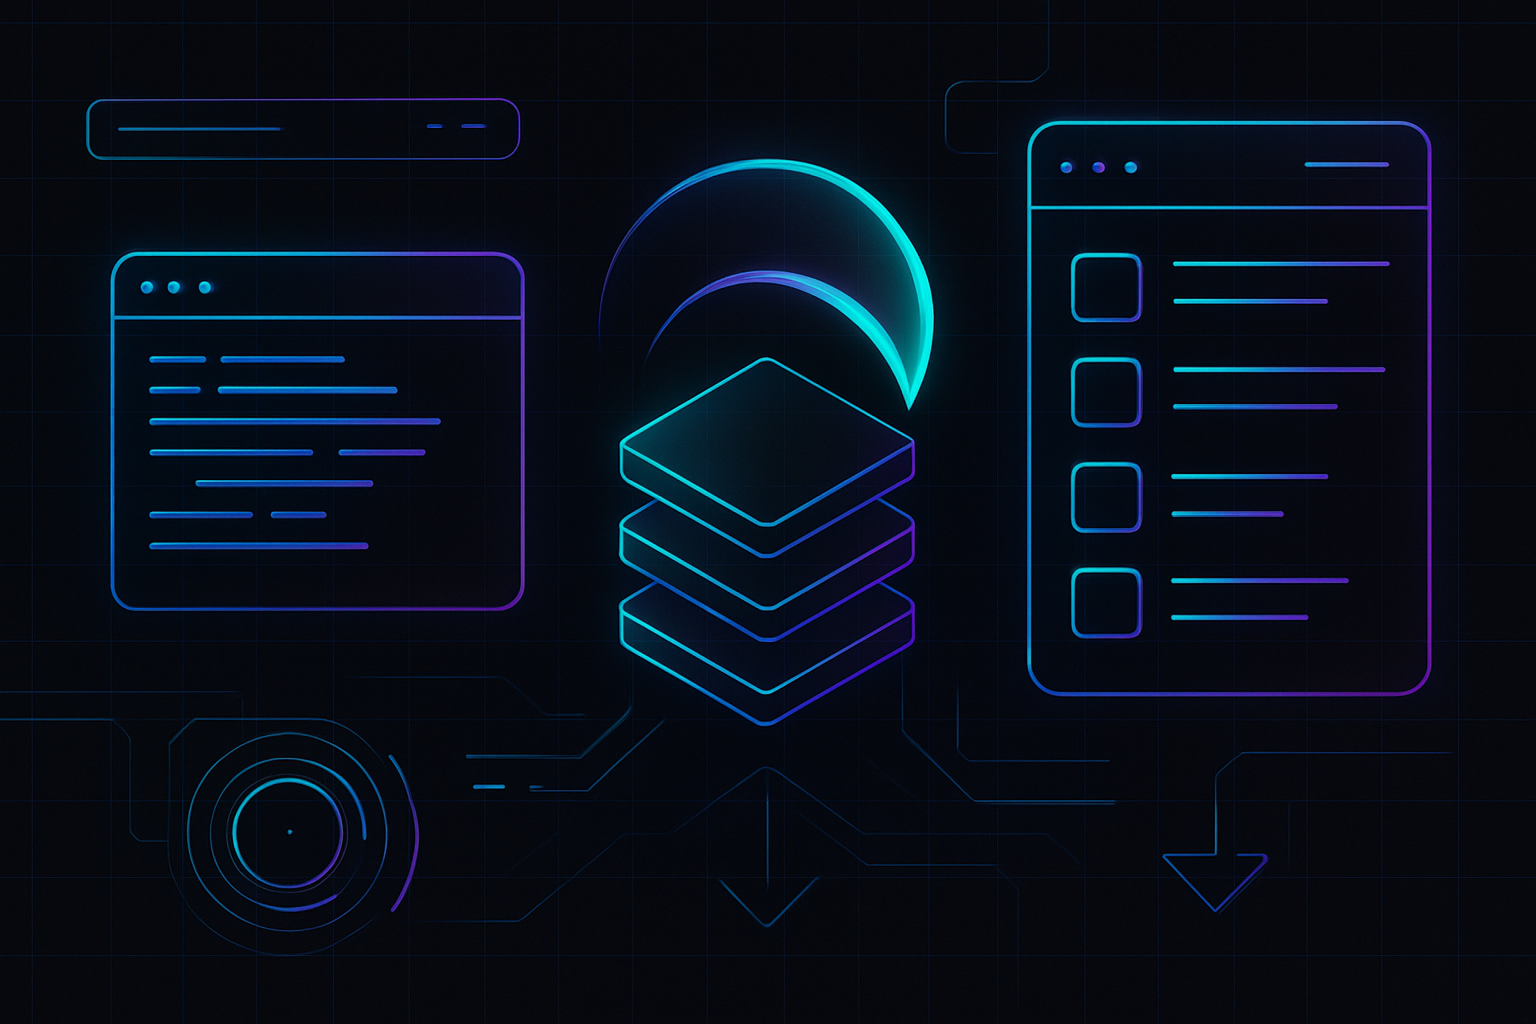
For developers eager to harness both Ethereum’s robust smart contract ecosystem and the performance of Solana, Eclipse offers a compelling solution. As a modular rollup platform, Eclipse enables you to build EVM-compatible rollups with unprecedented flexibility. Whether you’re migrating an existing dApp or starting from scratch, Eclipse’s architecture lets you tailor execution environments and data availability layers to your project’s precise needs.
Why Build EVM-Compatible Rollups on Eclipse?
The blockchain landscape is evolving toward modularity, where execution, settlement, and data availability are decoupled for optimal efficiency and scalability. Eclipse sits at the forefront of this movement. By supporting both the Ethereum Virtual Machine (EVM) and Solana Virtual Machine (SVM), it bridges two thriving ecosystems. For EVM developers, this means you can deploy Solidity-based contracts using familiar tools like Hardhat while benefiting from customizable infrastructure choices.
Eclipse’s unique value proposition:
- Flexibility: Choose your own execution environment (EVM or SVM) and data availability layer (Celestia, Polygon Avail, etc. ).
- Performance: Leverage Solana-inspired throughput while retaining Ethereum compatibility.
- Interoperability: Shared settlement layers foster seamless cross-rollup communication.
- Security: Rely on Ethereum’s robust security guarantees by settling transactions on its mainnet.
If you’re curious about how these components interact in practice, see the official documentation for more technical details: Eclipse Developer Guides.
The Modular Stack: Key Choices for Your Rollup
Your first decision when building an EVM-compatible rollup on Eclipse is selecting the right execution environment. Opting for EVM ensures compatibility with existing Ethereum dApps and tooling. Next comes picking a data availability layer - Celestia and Polygon Avail are popular choices for their scalability and decentralization.
Key Components to Launch an EVM Rollup on Eclipse
- EVM Execution Environment: Select the Ethereum Virtual Machine (EVM) as your execution environment to ensure compatibility with Solidity smart contracts and popular Ethereum developer tools like Hardhat and Remix.
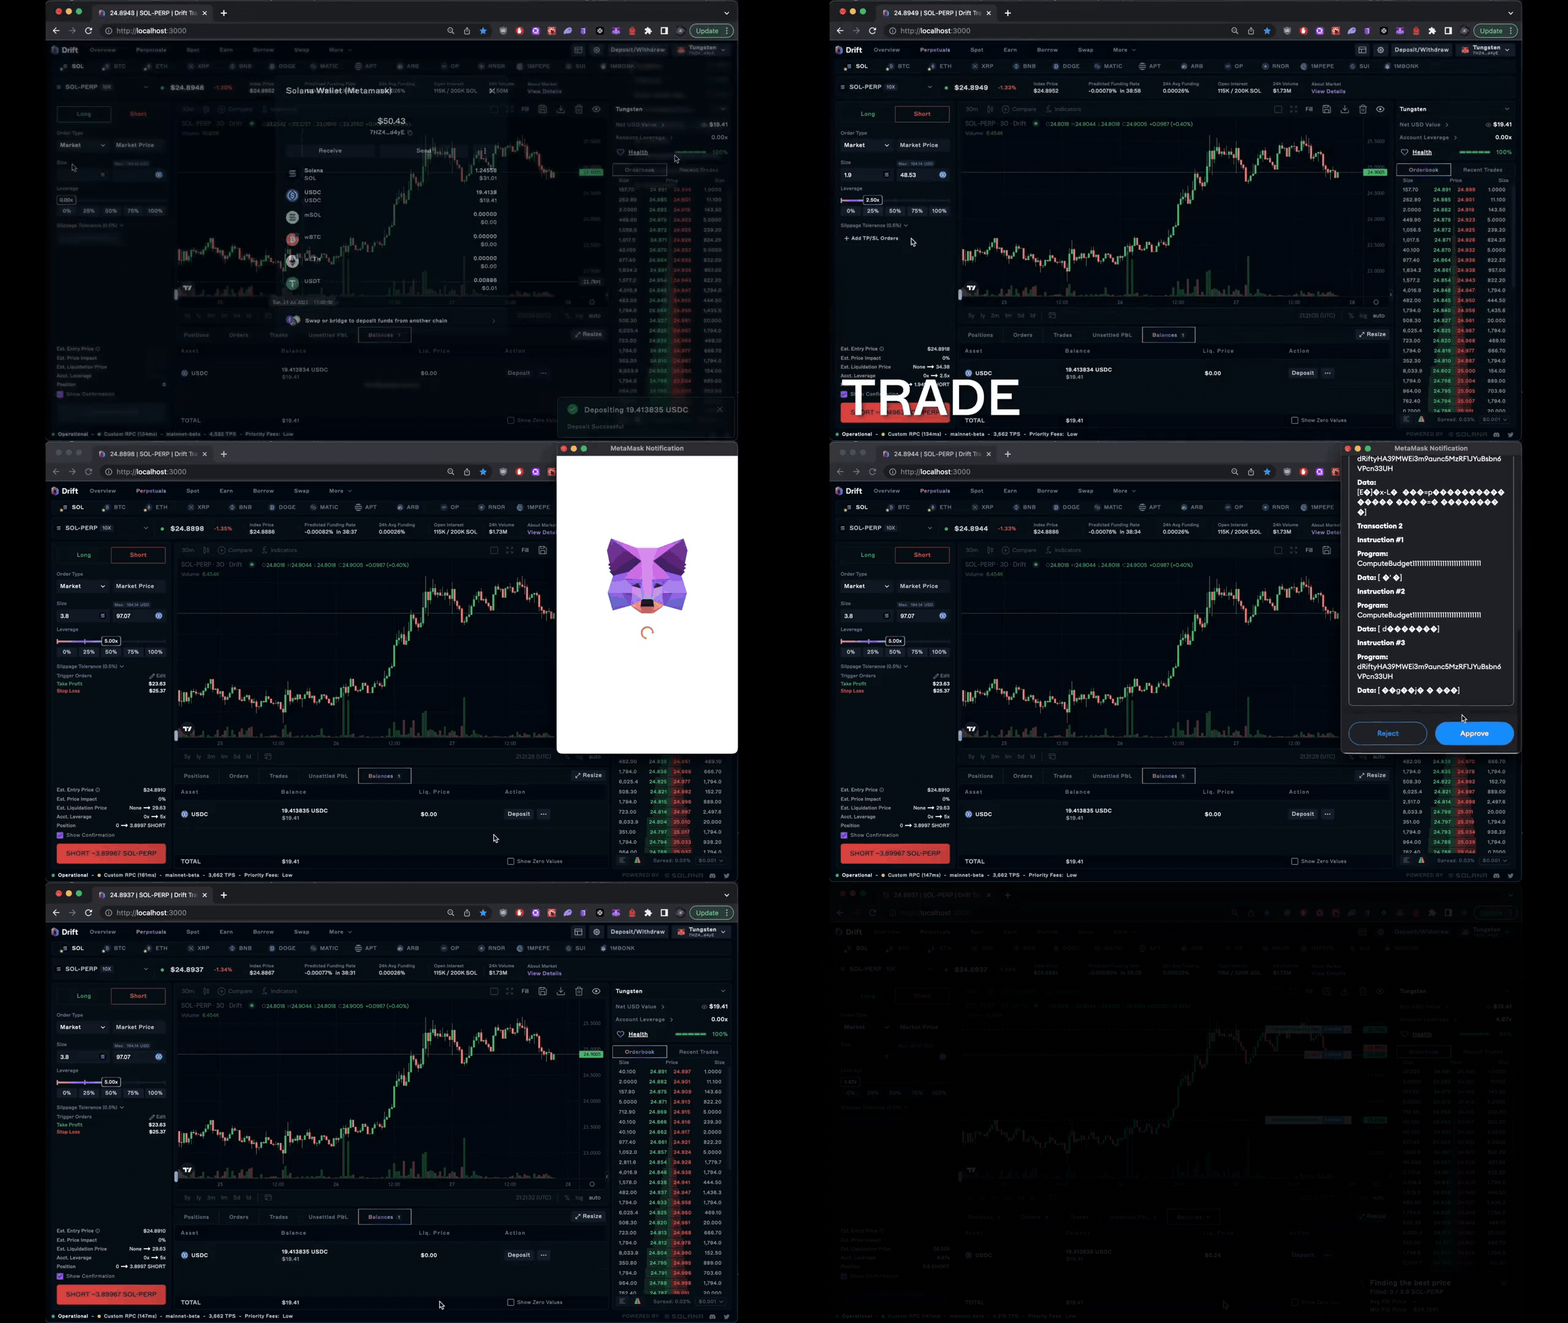
- Data Availability Layer: Choose a robust data availability solution such as Celestia or Polygon Avail to ensure transaction data is securely stored and accessible.

- Settlement Layer: Configure Eclipse's shared settlement layer to facilitate interoperability and finalize transactions across different rollups on the platform.
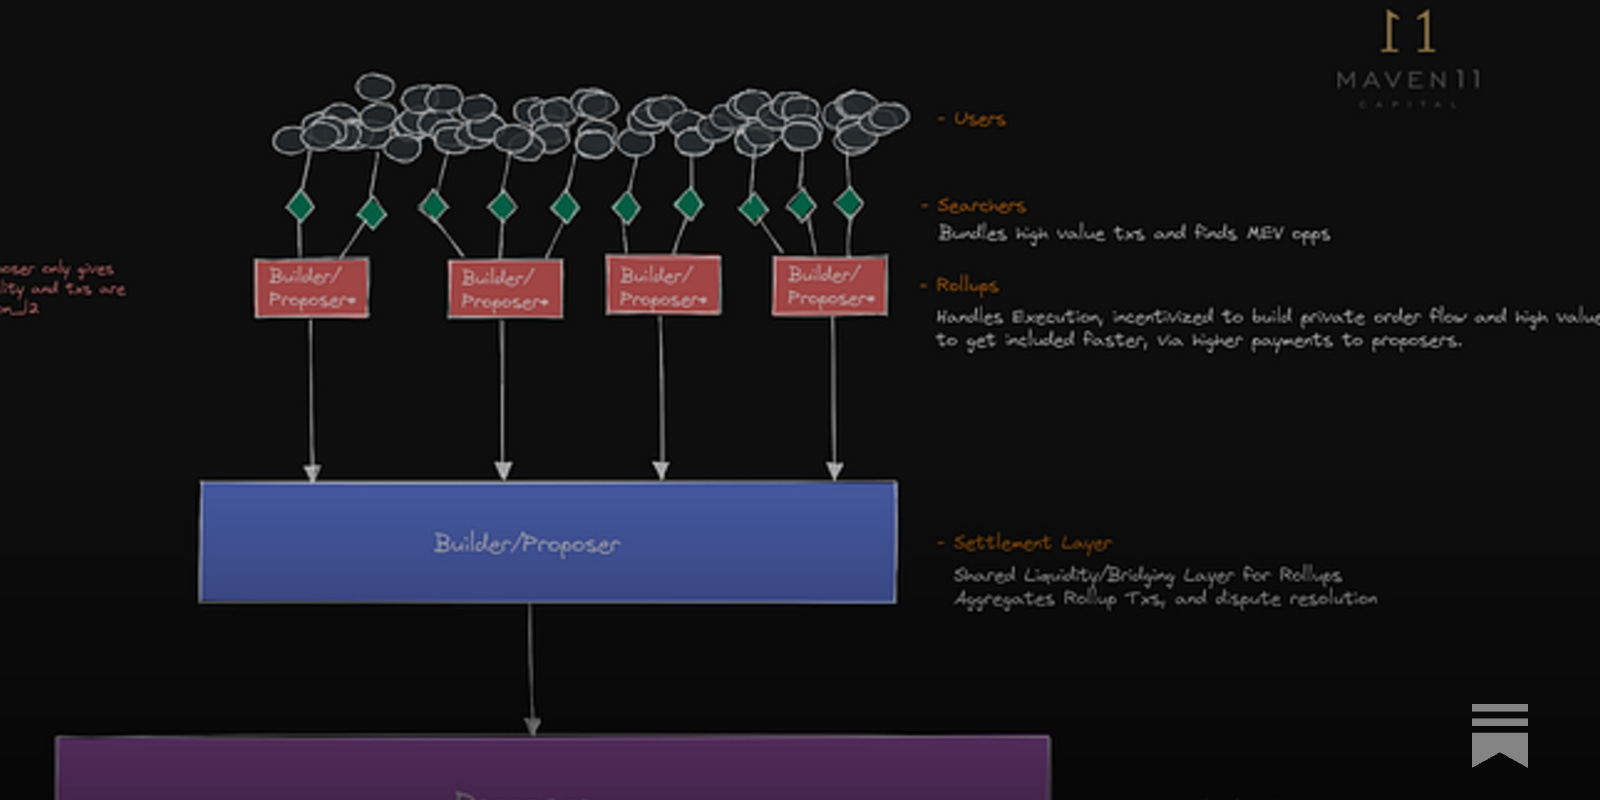
- Rollup Deployment Tools: Utilize established toolkits like Rollkit for deploying and managing your rollup, and leverage Eclipse's official documentation for step-by-step guidance.
- Testing and Monitoring Infrastructure: Set up comprehensive testing using frameworks such as Hardhat or Foundry, and monitor your rollup's performance with analytics tools to ensure reliability and security.
The shared settlement layer provided by Eclipse is what enables interoperability between different rollups within its ecosystem. This architecture also opens the door for cross-chain applications powered by IBC (Inter-Blockchain Communication), further expanding your project’s reach.
Step-by-Step: Configuring Your First EVM Rollup
The process of launching your own EVM-compatible rollup on Eclipse can be broken down into four core steps:
- Select Execution Environment: Choose the EVM to ensure Solidity support and access to the vast Ethereum developer toolkit.
- Pick Data Availability Layer: Evaluate options like Celestia or Polygon Avail based on cost, throughput, and decentralization needs (more details here).
- Configure Settlement Layer: Use Eclipse’s default shared settlement infrastructure for easy interoperability between your rollup and others in the ecosystem.
- Deploy and Test: Launch your rollup in a testnet environment using familiar tools such as Hardhat or Truffle. Conduct rigorous testing before moving to mainnet deployment (see Rollkit's tutorial).
This modular approach empowers teams to optimize each layer according to their application’s requirements - whether that means maximizing throughput, minimizing costs, or prioritizing composability across chains.
As you complete these foundational steps, the real power of Eclipse’s modularity becomes apparent. Unlike monolithic chains, Eclipse lets you iterate quickly, swap components as your needs evolve, and plug into a growing network of interoperable rollups. This is especially useful for projects aiming to future-proof their infrastructure or experiment with emerging data availability solutions.
Deploying and Testing a Solidity Smart Contract on Eclipse EVM Rollup
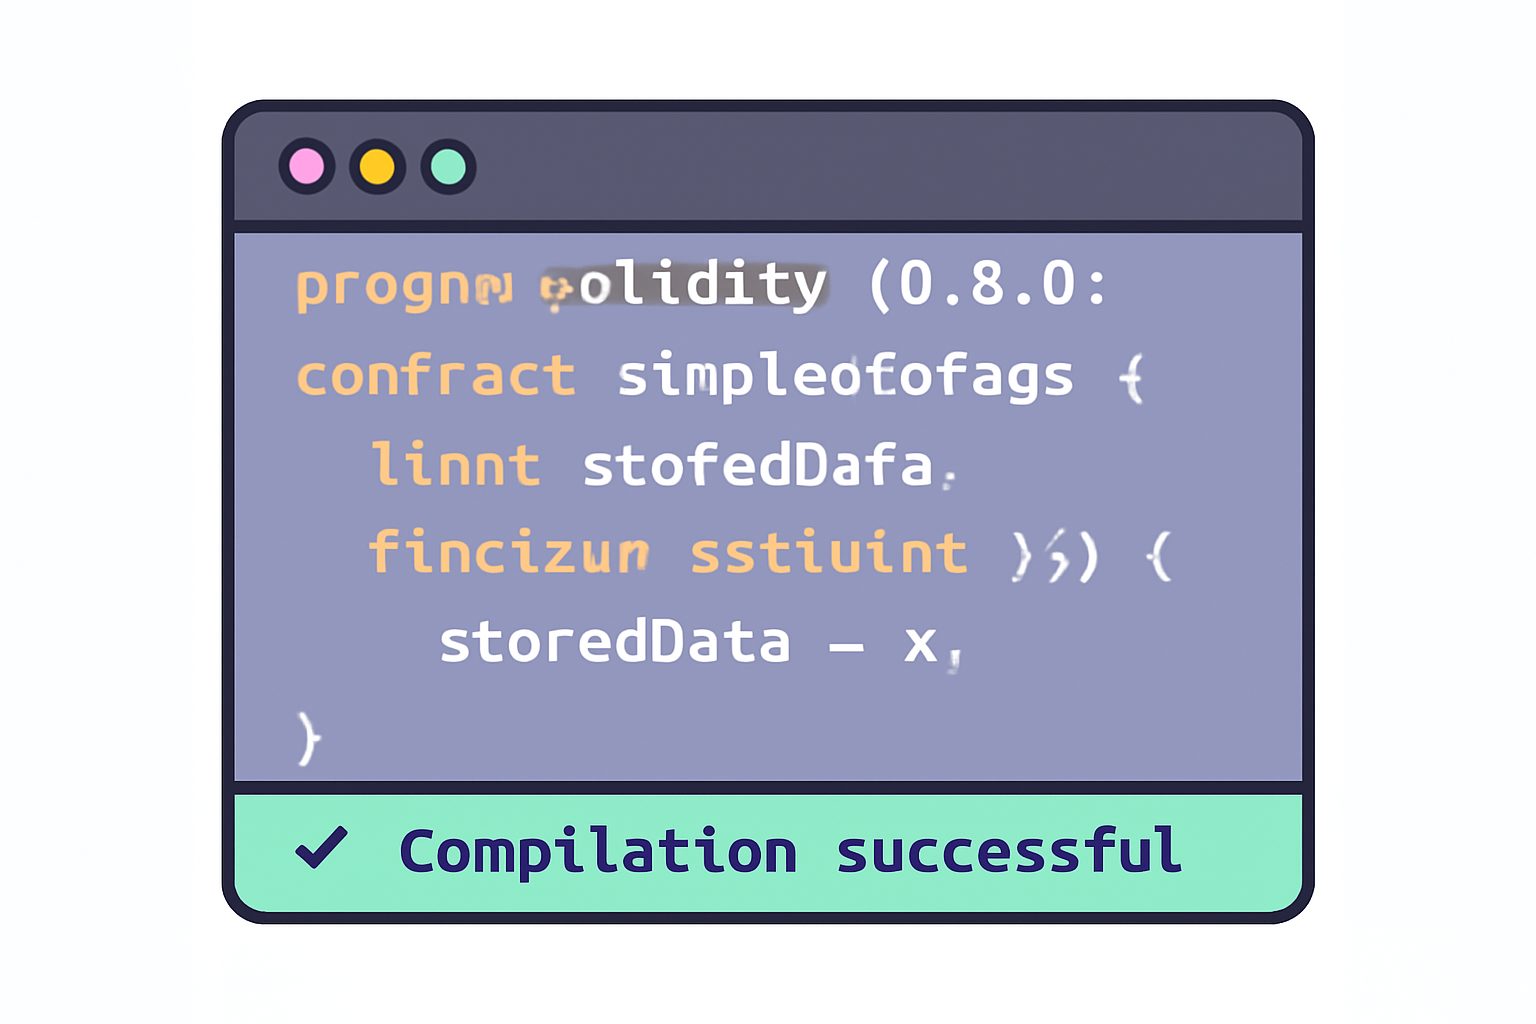
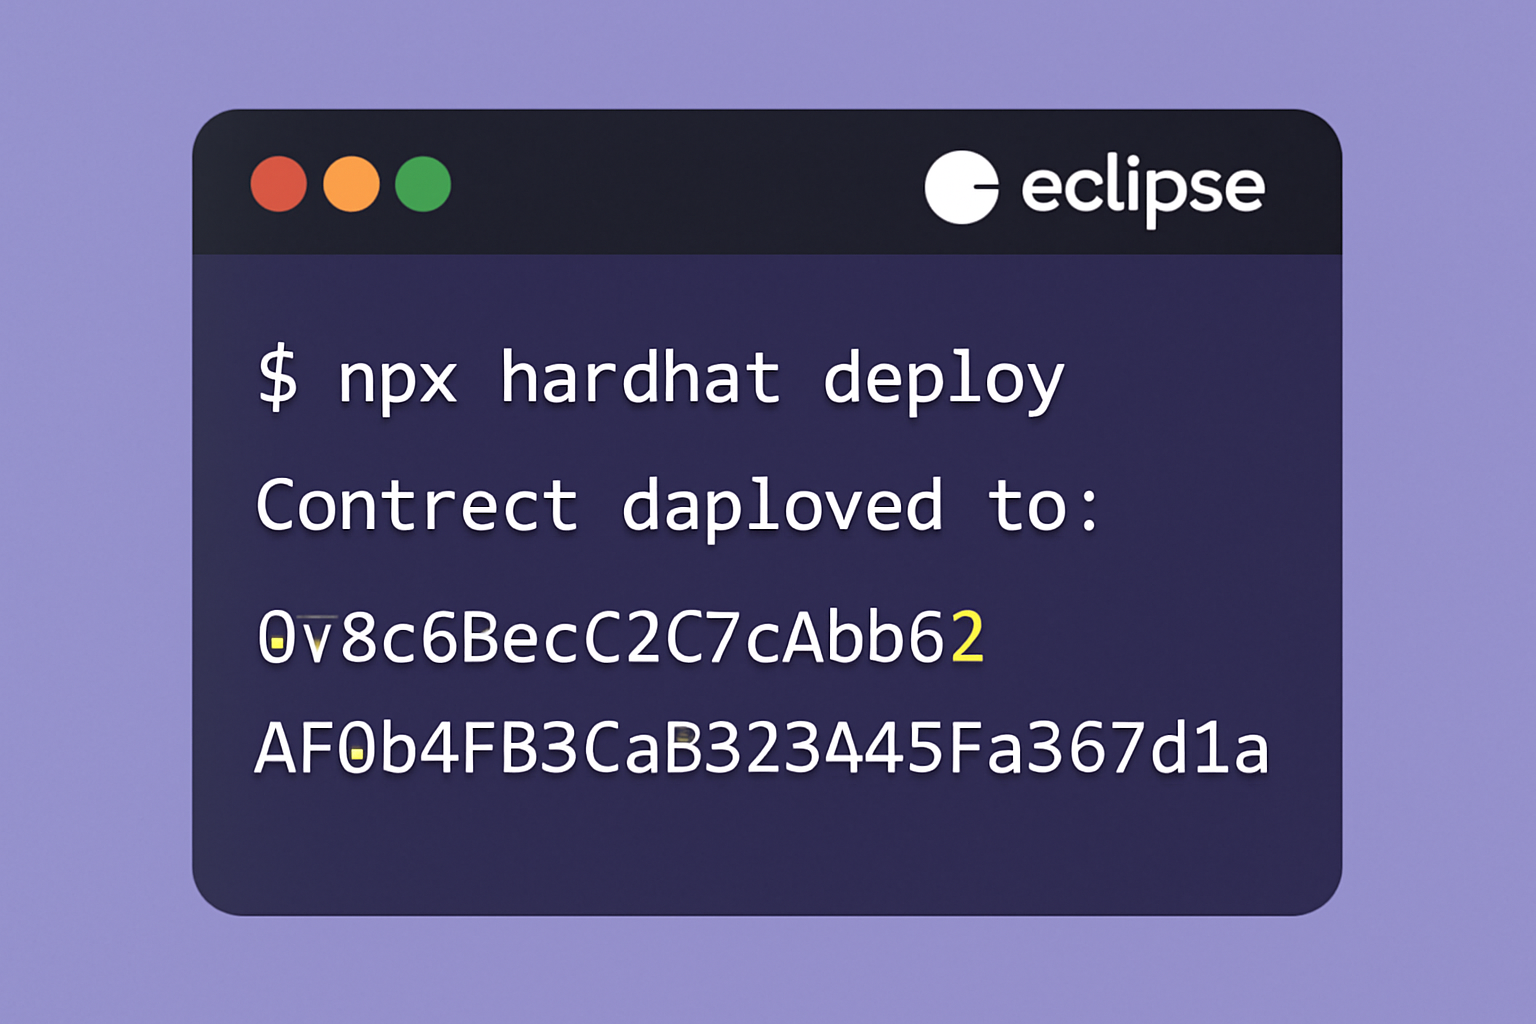
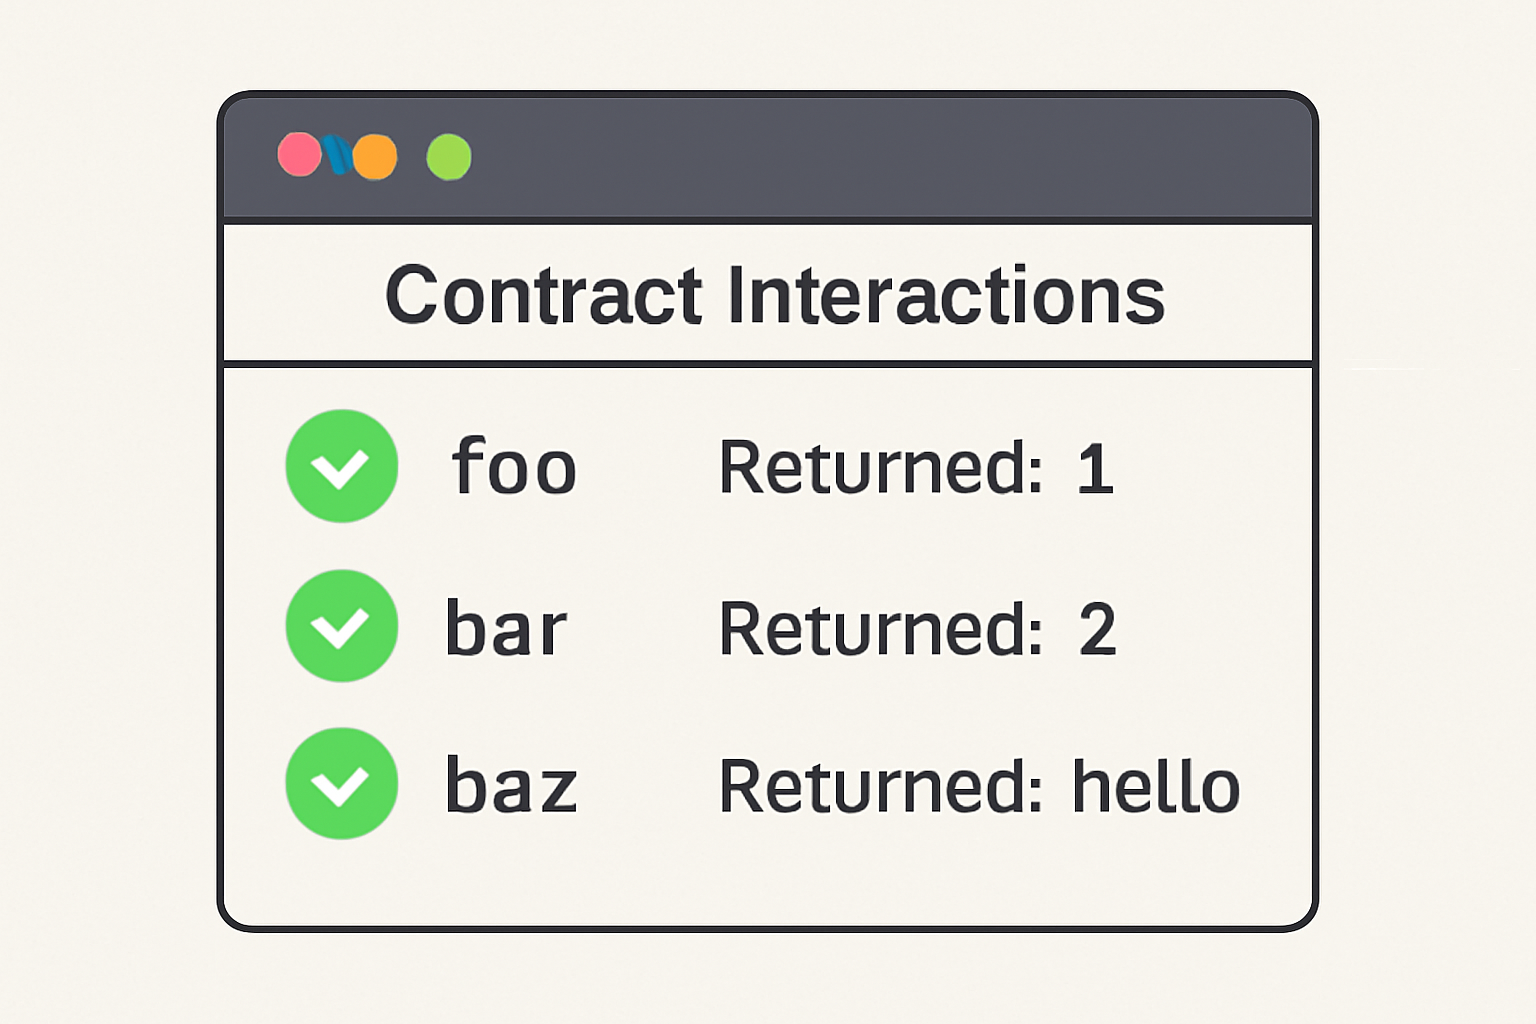
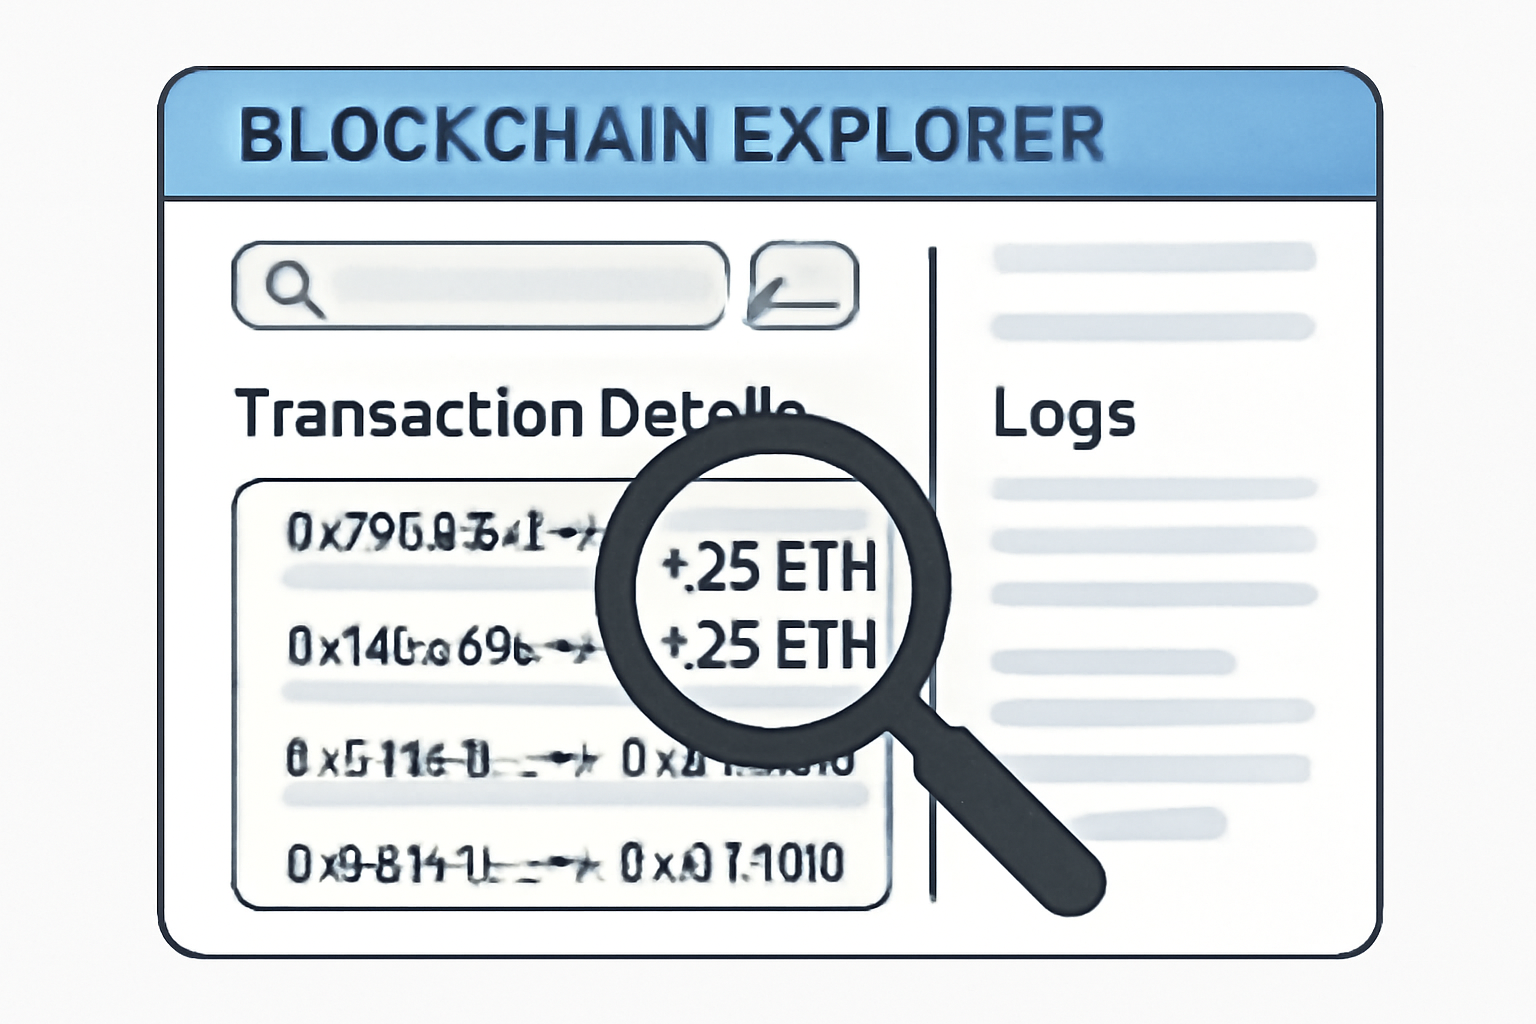
Smart contract integration is seamless on Eclipse’s EVM layer. You can deploy existing Ethereum contracts with minimal code changes, thanks to robust compatibility. Tools like Hardhat and Truffle remain fully supported, and developer experience mirrors what you’d expect from Ethereum Layer 2s. For those interested in cross-chain composability, Eclipse’s shared settlement layer unlocks new patterns for dApp interoperability, enabling messaging and asset transfers between isolated rollups without sacrificing security.
Testing Your Rollup: Best Practices
Before going live, comprehensive testing on testnet is critical. This includes:
- Contract-level unit tests using frameworks like Hardhat or Foundry
- Performance benchmarking to evaluate transaction throughput under different data availability backends
- Security audits, both automated and manual, to ensure your rollup’s configuration doesn’t introduce vulnerabilities
- User acceptance testing (UAT) with real wallets and simulated mainnet conditions
If you’re looking for a practical walkthrough of these steps using the latest developer tools, check out the official Rollkit EVM interaction tutorial.
Essential Tools & Resources for EVM Rollups on Eclipse
- Hardhat: A leading Ethereum development environment, Hardhat supports smart contract compilation, deployment, and testing. It is widely used for EVM-compatible rollup development, including on Eclipse.
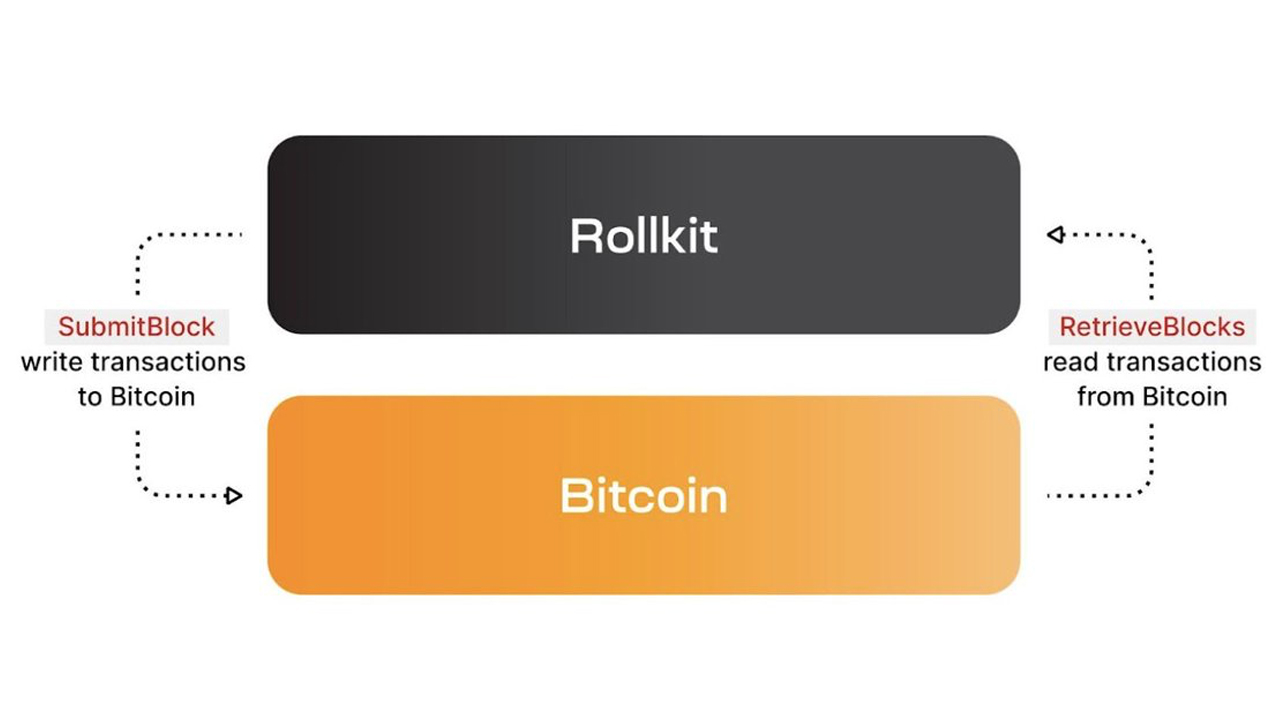
- Rollkit: Rollkit provides modular rollup tooling and a detailed tutorial for EVM contract interaction on Eclipse, streamlining rollup deployment and customization.
- Celestia: As a data availability layer, Celestia is supported by Eclipse and enables scalable, secure data storage for your rollup projects.

- Polygon Avail: Another data availability solution, Polygon Avail integrates with Eclipse, allowing developers to choose optimal data layers for their EVM rollups.
- Eclipse Official Documentation: The Eclipse docs offer comprehensive guides for configuring EVM and SVM environments, as well as step-by-step tutorials for building on the platform.
- Solidity: The primary programming language for Ethereum smart contracts, Solidity is fully supported on Eclipse’s EVM execution environment, enabling seamless contract development and deployment.
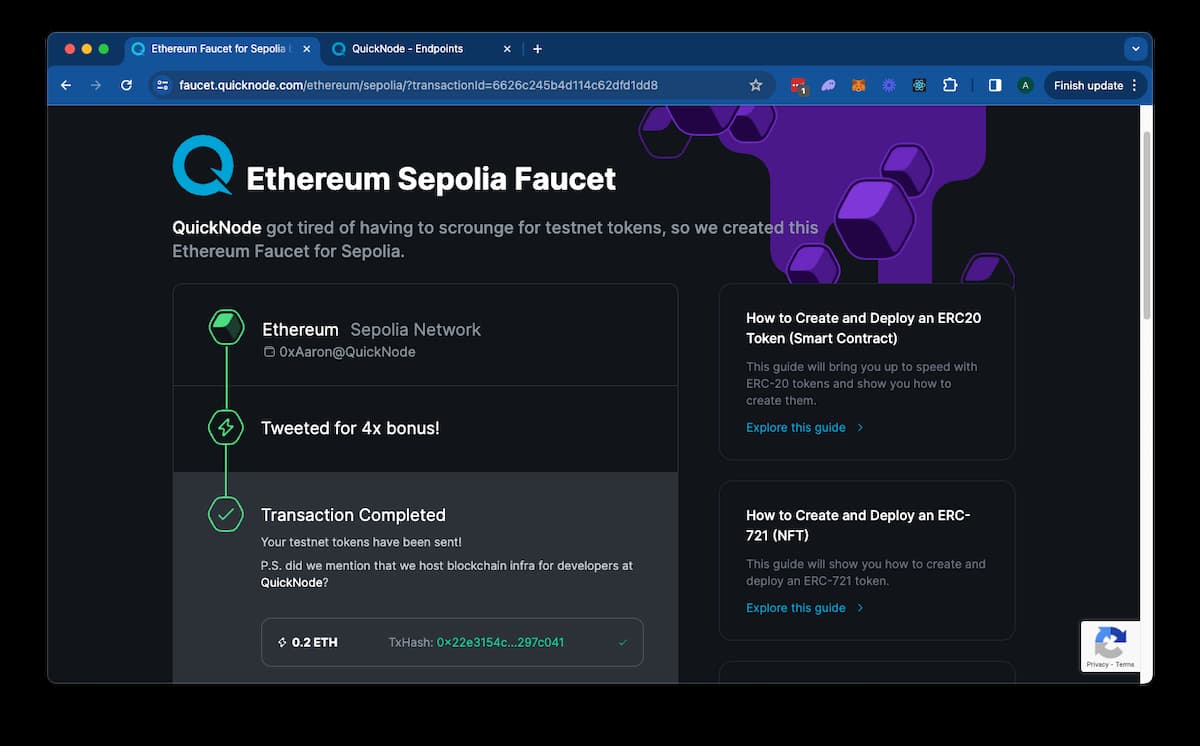
- MetaMask: A widely-used crypto wallet, MetaMask allows developers to interact with EVM-compatible rollups on Eclipse for testing and deployment.

- Hyperlane: For cross-chain interoperability, Hyperlane provides permissionless messaging between Eclipse, Solana, and other ecosystems, enhancing rollup connectivity.
Advanced Features: Cross-Rollup Interoperability and Customization
Eclipse isn’t just about single-rollup deployments. Its architecture supports advanced features like IBC-enabled messaging between rollups and customizable execution environments. For teams building multi-chain applications or seeking granular control over fee structures and governance models, this flexibility is a game-changer. As more data availability layers come online (such as Celestia), you can even migrate your rollup’s backend with minimal disruption, a level of agility that traditional blockchains can’t match.
The ecosystem is rapidly evolving, with new integrations, like wallet infrastructure for SVM and expanded permissionless interoperability via Hyperlane, making it easier than ever to onboard users from both Ethereum and Solana worlds. This positions Eclipse as a leading choice not only for DeFi builders but also for NFT projects, gaming platforms, and enterprise applications seeking scalability without compromise.
Where to Go Next?
If you’re ready to dive deeper into building EVM-compatible rollups on Eclipse:
- Explore the official documentation for technical deep-dives.
- Dive into community channels for support from fellow builders.
- Experiment with testnet deployments before committing resources to mainnet launches.
The modular blockchain paradigm is here, and Eclipse gives you the keys to architect your own future-proof EVM-compatible rollup. Whether your goal is blazing speed, flexible integrations, or ecosystem interoperability, this platform offers the foundation needed to build at the frontier of Web3 innovation.




No comments yet. Be the first to share your thoughts!