

Launching a permissioned rollup with Eclipse is one of the most powerful ways to gain granular control over your blockchain application’s user base, compliance requirements, and performance. The rise of application-specific rollups has enabled projects to tailor execution environments and access controls, making it possible to implement KYC-gated DeFi protocols or enterprise-grade dApps. In this guide, we’ll walk through the essential steps and considerations for deploying a permissioned rollup using the Eclipse framework.
Why Choose Eclipse for Permissioned Rollups?
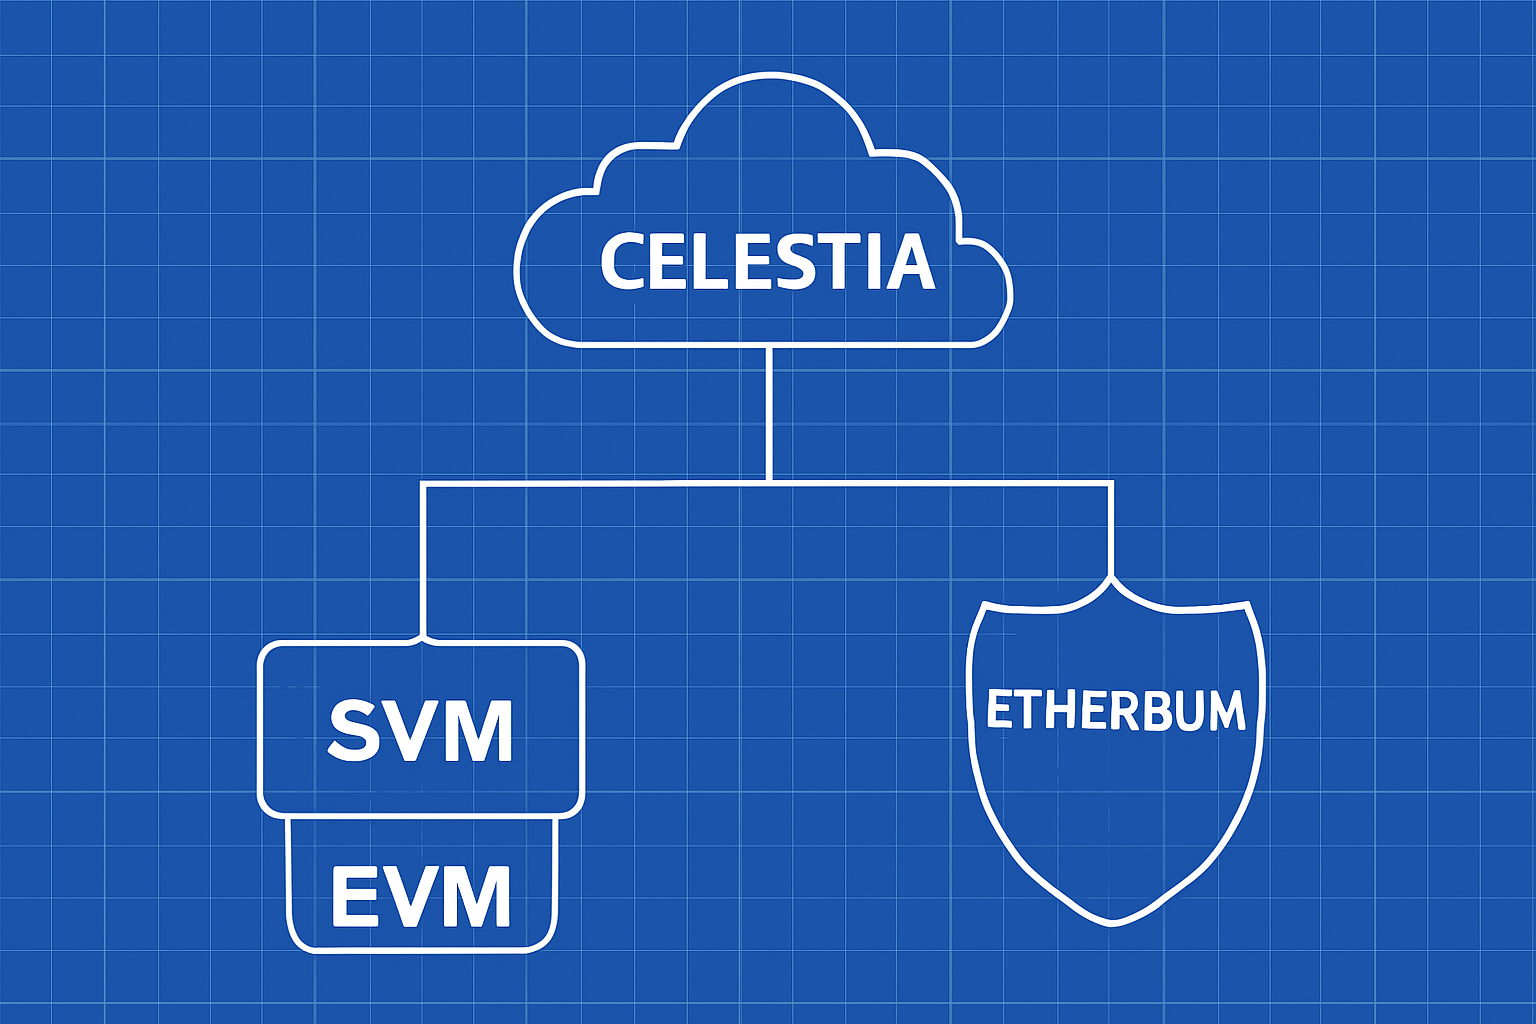
Eclipse stands out as a modular layer-2 solution that combines the blazing-fast Solana Virtual Machine (SVM) with Ethereum’s security and liquidity. This unique blend allows developers to select their preferred execution environment (SVM or EVM), plug in scalable data availability layers like Celestia, and settle transactions on Ethereum for robust finality.
The modularity of Eclipse means you’re not locked into a one-size-fits-all stack. Instead, you can optimize each component - from how transactions are executed to where data is stored - to fit the needs of your application. For permissioned rollups, this flexibility is critical: you can enforce access controls at the protocol level while maintaining high throughput and low latency.
Understanding Key Components: Execution, Data Availability, and Settlement
Eclipse’s architecture revolves around three main pillars:
- Execution Environment: Choose between SVM for high-performance parallel processing or EVM for Ethereum compatibility. This decision will shape your development workflow and smart contract logic.
- Data Availability (DA): Platforms like Celestia provide scalable DA solutions, ensuring that transaction data is efficiently stored off-chain but remains accessible for verification.
- Settlement Layer: By leveraging Ethereum as a settlement layer, Eclipse rollups inherit its security guarantees without sacrificing speed or flexibility.
This modular approach empowers developers to fine-tune their stack for specific regulatory or business requirements. For instance, a DEX requiring KYC can utilize permissioned access at the smart contract level while still benefiting from Solana-grade performance (source).
Step-by-Step: Launching Your Permissioned Rollup with Eclipse
Launch a Permissioned Rollup with Eclipse: Step-by-Step Guide


The journey begins by defining your rollup’s core specifications:
- Select Your Execution Environment: Consider whether SVM’s parallelism or EVM’s compatibility better serves your use case.
- Choose Your Data Availability Solution: Evaluate options like Celestia based on scalability, cost, and ecosystem integration.
- Set Up Your Development Environment: Install relevant tooling (e. g. , Solana CLI for SVM) and configure your workspace to interact with Eclipse’s APIs.
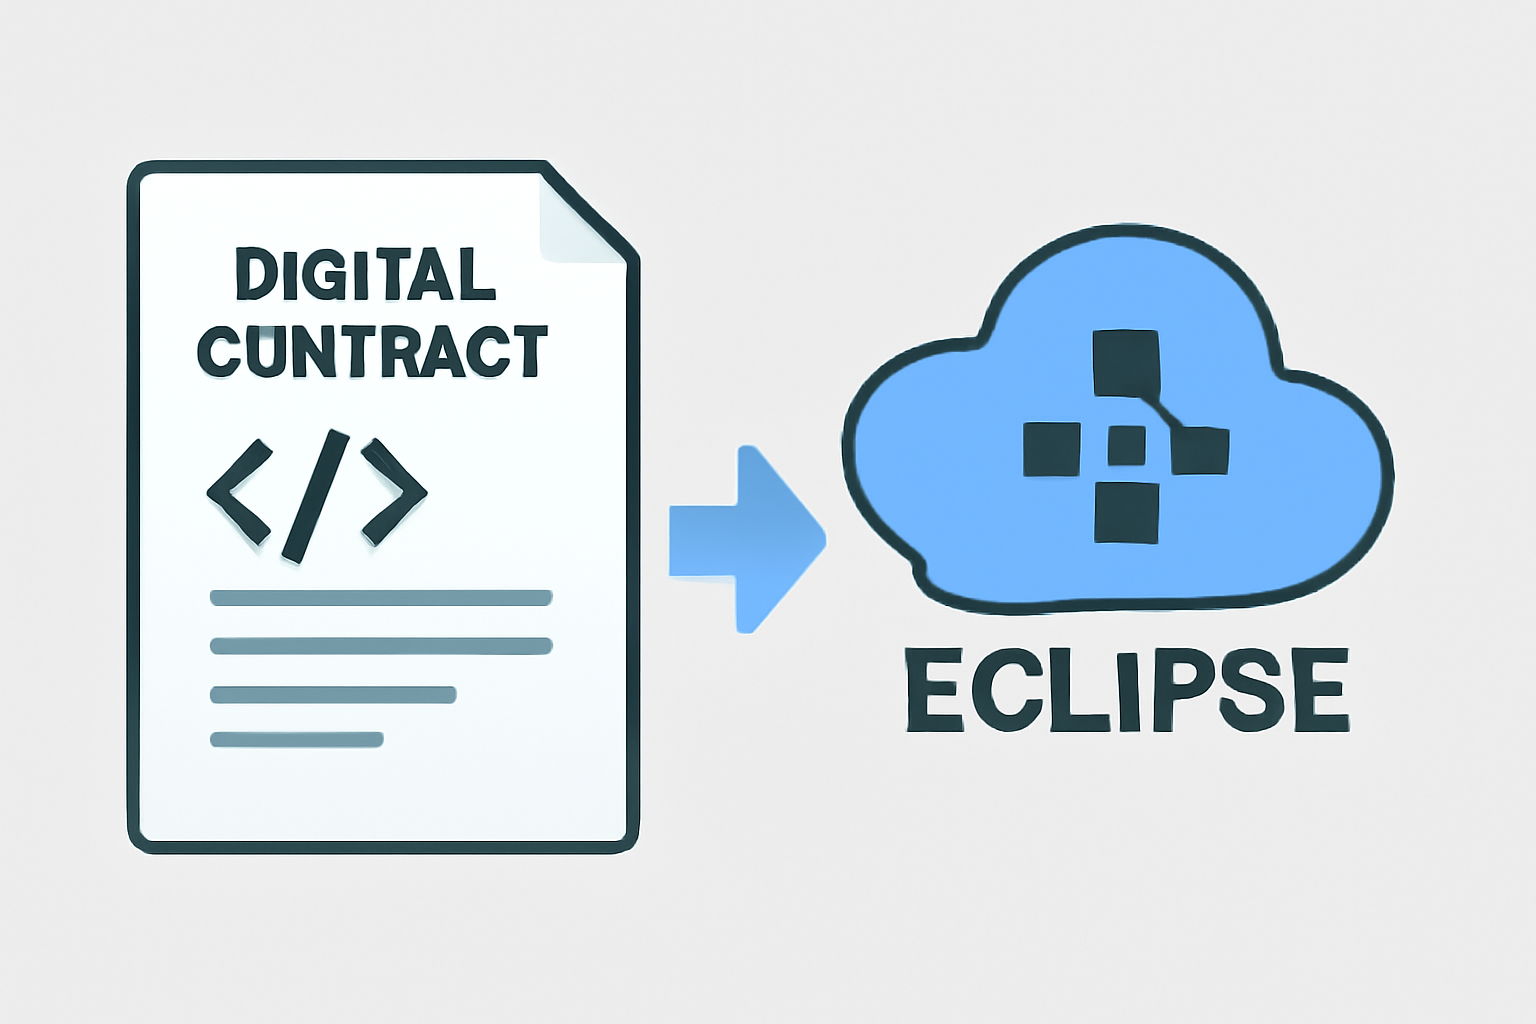
- Develop Smart Contracts: Write contracts that encode both business logic and access controls - such as allowlists or KYC checks - directly into the protocol layer.
- Deploy Contracts Using Eclipse Tools: Use official deployment scripts or SDKs tailored to your chosen VM.
This process ensures that only verified users can interact with your dApp or protocol while maintaining full control over execution speed and network costs. You’ll find that building on Eclipse gives you an unprecedented degree of customization compared to traditional monolithic chains (read more about DA and settlement here).
With your permissioned rollup deployed on Eclipse, the next phase is to focus on governance, monitoring, and ongoing optimization. Permissioned rollups are not set-and-forget systems: the landscape of compliance, user authentication, and blockchain performance is constantly evolving. Eclipse’s modularity ensures you can adapt quickly as needs change or as new standards emerge.
Implementing Robust Access Control and Governance
Effective Eclipse access control is achieved by integrating identity verification mechanisms directly into your rollup’s smart contracts. For example, you can:
- Leverage allowlists or blocklists to manage participant access based on wallet addresses or on-chain credentials.
- Integrate third-party KYC providers to ensure regulatory compliance for DeFi applications.
- Create upgradeable governance contracts that allow for dynamic policy adjustments without redeploying the entire rollup.
This gives you fine-grained control over who can interact with your dApp while maintaining transparency and auditability. As highlighted in recent industry discussions, such permissioning is essential for enterprise adoption and regulated sectors (see more here).
Monitoring, Scaling, and Maintaining Your Rollup
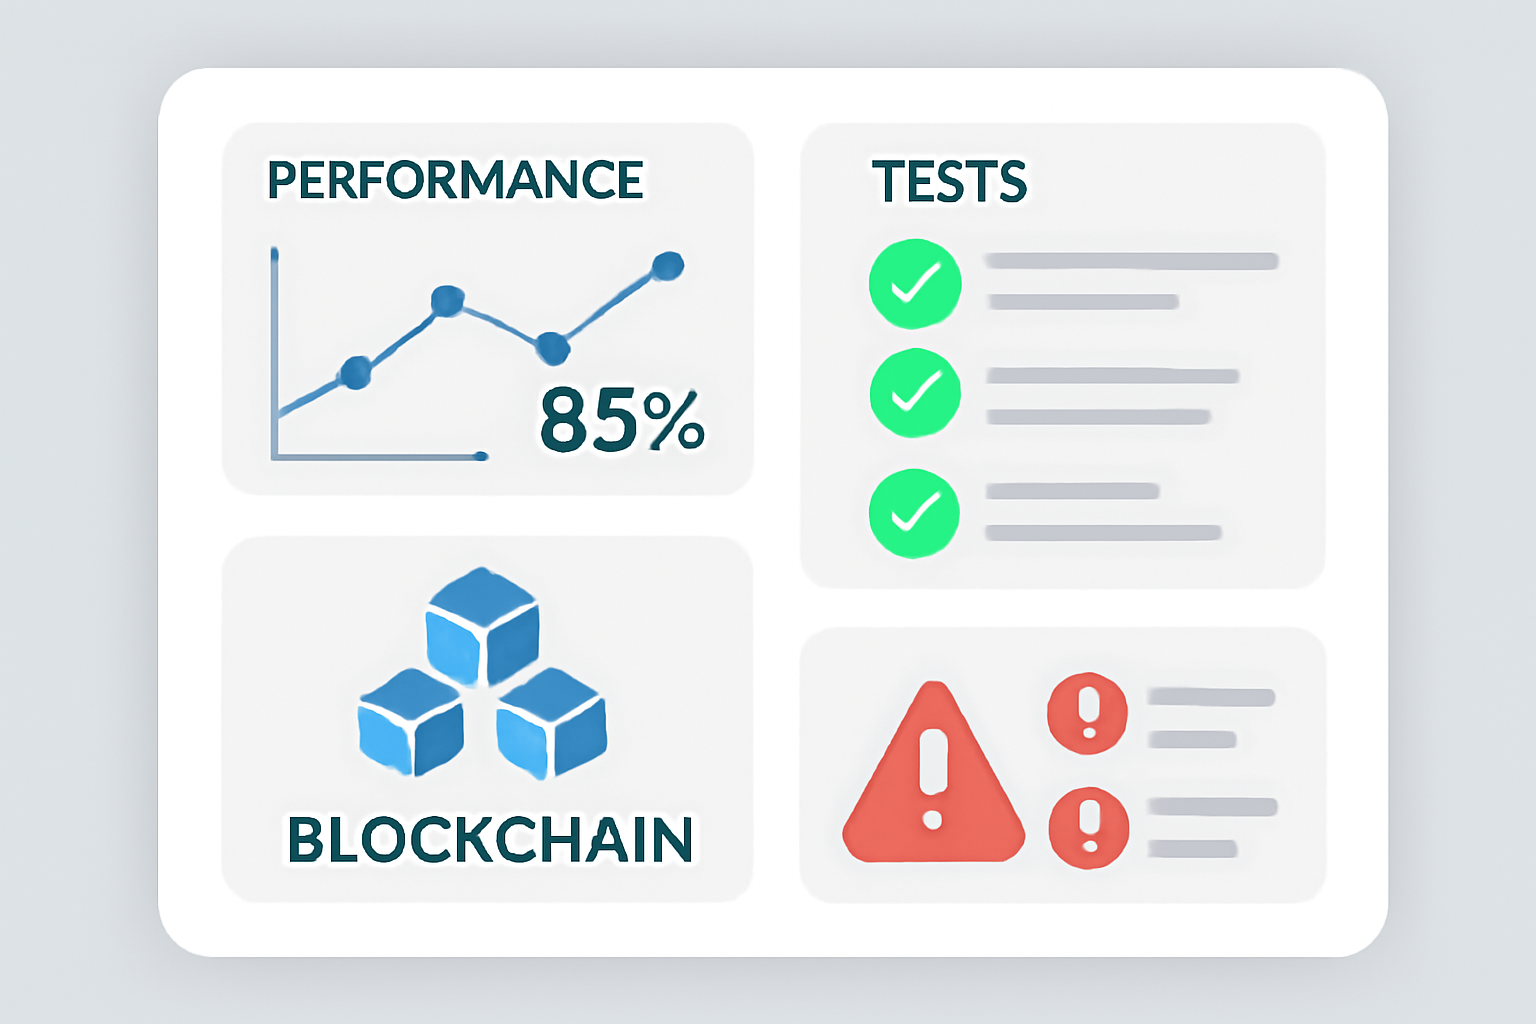
Once live, continuous monitoring is crucial. Set up dashboards that track transaction throughput, latency, failed transactions, and user activity. Use these insights to:
- Tune block production intervals for optimal performance
- Identify potential security threats or unauthorized access attempts
- Scale resources as your user base grows or as network conditions fluctuate
Eclipse’s architecture allows you to swap out DA layers or adjust settlement parameters with minimal disruption, future-proofing your application against shifting requirements. For teams seeking quicker iterations or experimenting with different configurations, this flexibility is a game-changer.
The Future of Permissioned Rollups: Opportunities and Considerations
The ability to launch a permissioned rollup using Eclipse unlocks a spectrum of use cases, from compliant DeFi protocols requiring strict KYC/AML controls to private enterprise blockchains handling sensitive data. As Rollups-as-a-Service (RaaS) platforms mature and SDKs become more developer-friendly (source), expect even greater accessibility and innovation in this space.
If you’re considering launching your own permissioned rollup with Eclipse, keep these strategic tips in mind:
- Stay Up-to-Date: Follow Eclipse ecosystem updates for enhancements in VM support, DA integrations, and governance tooling.
- Pilot First: Test new features in sandbox environments before rolling out changes to production chains.
- Engage the Community: Participate in forums and developer groups, collective feedback often surfaces best practices faster than isolated development.
What’s the biggest challenge in deploying permissioned rollups with Eclipse?
Eclipse’s modular framework lets you customize execution environments, data availability, and permission controls for your rollup. But each step comes with its own hurdles. Which do you find most challenging?
The intersection of modularity and permissions is where the next wave of blockchain innovation will happen. By leveraging Eclipse’s flexible stack, whether through SVM’s high throughput or Ethereum's settlement security, you position your project at the forefront of compliant Web3 infrastructure. The demand for privacy-preserving yet auditable systems will only grow as institutional capital enters the space.
If you’re ready to take full advantage of modular blockchains without sacrificing control or compliance, launching a permissioned rollup on Eclipse could be your most strategic move yet.




No comments yet. Be the first to share your thoughts!