
Deploying a custom rollup on Celestia is rapidly becoming the go-to strategy for developers seeking scalability, flexibility, and true modularity in blockchain development. Celestia’s unique separation of consensus, data availability, and execution layers empowers builders to focus on their application logic without the overhead of maintaining a complex consensus network. This Celestia rollup tutorial will walk you through the essential steps for launching your own rollup, whether you’re building a DeFi protocol, gaming chain, or experimenting with new execution environments.
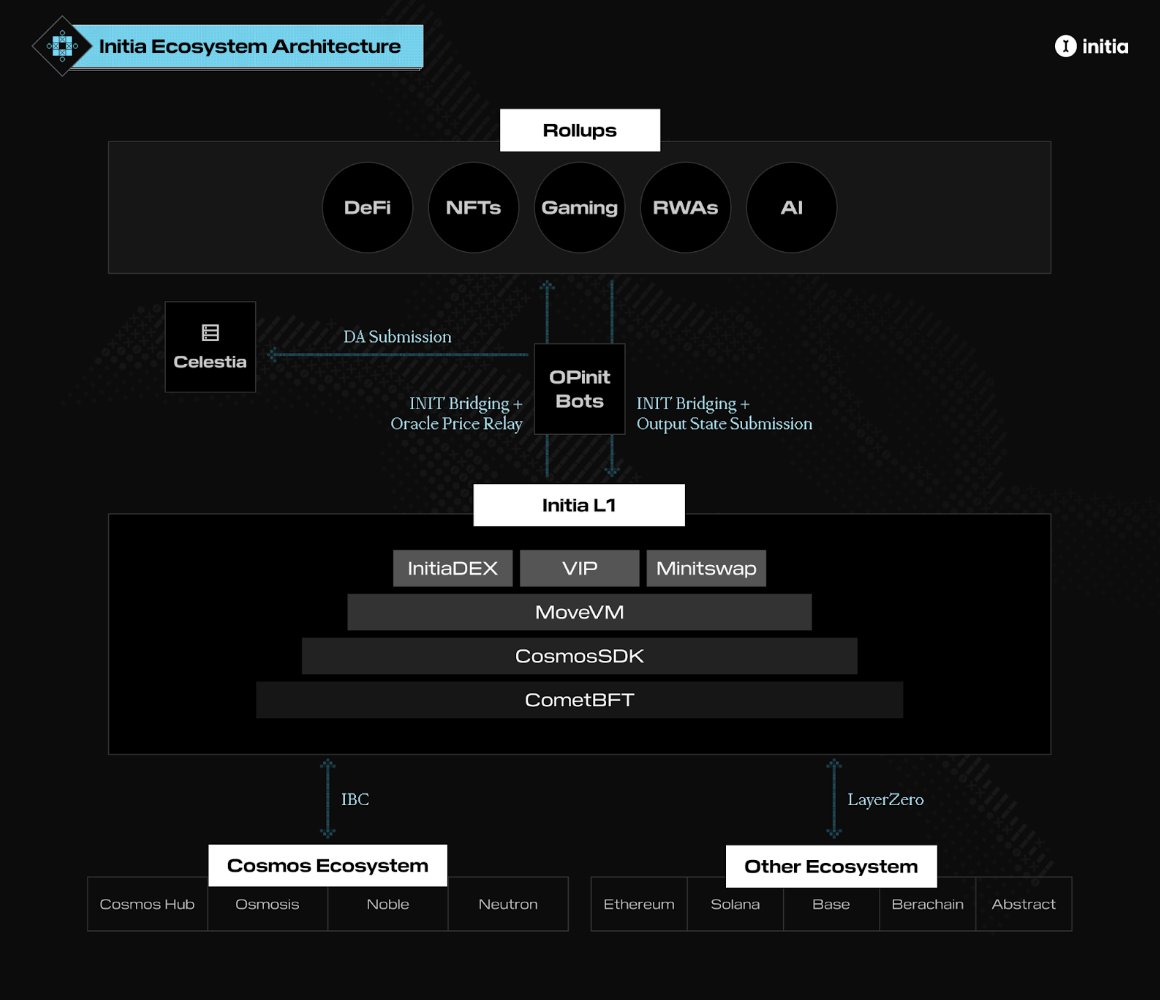
Why Choose Celestia for Custom Rollups?
At its core, Celestia radically simplifies blockchain scaling by decoupling consensus from execution. Instead of launching an entire L1 chain or piggybacking off monolithic blockchains, you can deploy a sovereign or shared security rollup that leverages Celestia’s robust data availability layer. This unlocks several advantages:
- Faster deployment cycles: No need to build everything from scratch.
- Customizable execution: Use frameworks like Rollkit, Arbitrum Orbit, or OP Stack to tailor your rollup logic.
- Scalable throughput: Offload consensus and DA to Celestia while focusing on app-specific features.
If you’re new to modular blockchain development or want a hands-on approach, this guide is designed for you. For step-by-step instructions and frequently updated resources, see our full custom rollup deployment guide.
Step 1: Understanding Celestia’s Modular Architecture
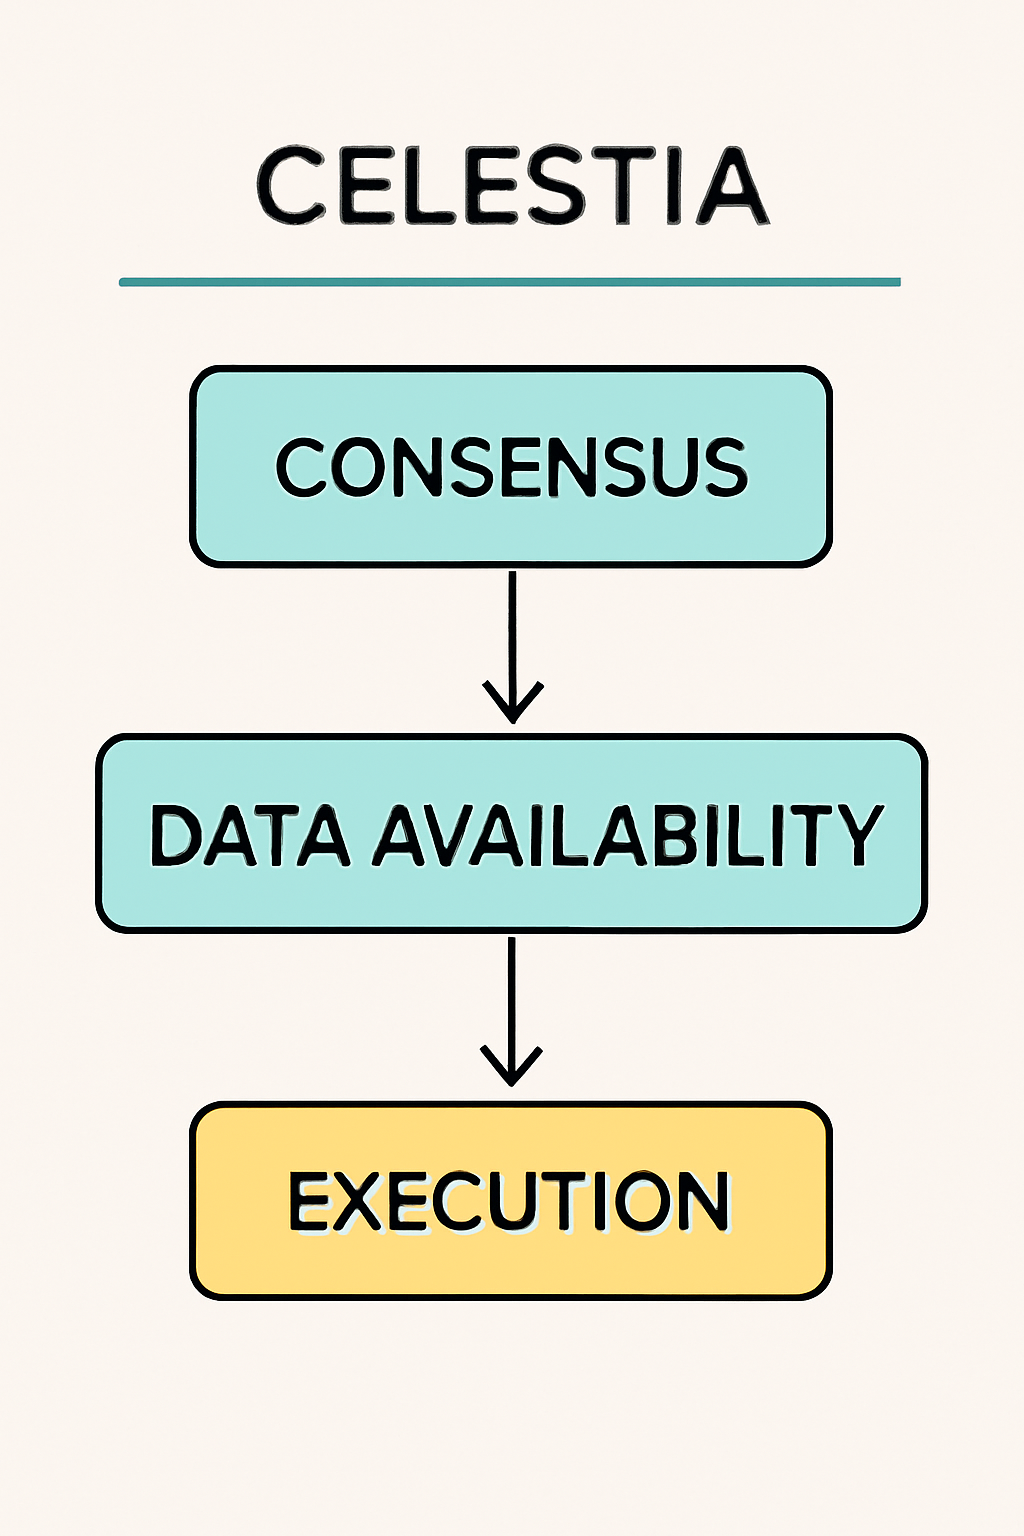
The first step is grasping Celestia’s architecture. Unlike traditional blockchains where consensus, execution, and data storage are tightly coupled, Celestia separates these concerns:
- Consensus and Data Availability Layer (Celestia): Handles ordering of transactions and guarantees their availability.
- Execution Layer (Your Rollup): Executes your application-specific logic, this is where your custom chain lives.
This modularity means you can deploy a lightweight yet secure chain that inherits Celestia’s DA guarantees. You’re free to innovate on execution logic without worrying about network-level security or liveness risks typical of launching a new L1.
Step 2: Selecting Your Rollup Framework
Your choice of framework will shape your development workflow and customization options. The three leading frameworks for deploying rollups on Celestia are:
- Rollkit: A modular toolkit purpose-built for rapid deployment of sovereign rollups. It supports Cosmos-SDK-based chains and enables direct posting to Celestia’s DA layer.
- Arbitrum Orbit: Ideal if you want EVM compatibility with flexible DA options, including native support for posting data directly to Celestia.
- OP Stack (Optimism): Leverage Optimism’s open-source stack while using Celestia as your DA layer, perfect for scaling Ethereum-like environments with enhanced throughput.
Select the framework that best matches your team’s expertise and project goals. Each framework has detailed documentation and active community support channels to accelerate your build process.
Step 3: Setting Up Your Development Environment
A streamlined environment is crucial for efficient iteration during development. Here are the basics you'll need before writing any code:
- Celestia Node: Install and run a light node (celestia-light-node) so your rollup can interact with the network efficiently during both testnet and mainnet deployments.
- Framework Tools: Depending on your chosen framework:
- If using Rollkit: Install the Ignite CLI (@ignite/cli) and set up the Rollkit app template.
- If using Arbitrum Orbit: Set up access to the Orbit deployment portal and ensure you have necessary wallet credentials ready.
- If using OP Stack: Prepare tools like roll-op, fork the OP Stack repo, and configure it for interaction with Celestia's DA endpoints.
This foundation enables smooth local testing before moving toward live deployments, a critical step in any robust modular blockchain development flow.
Step 4: Developing and Configuring Your Rollup
With your environment in place, it’s time to build the rollup itself. This is where your application logic, custom modules, and unique features come to life. The process varies slightly by framework, but a few universal best practices apply:
- Scaffold your chain: Use the official CLI or deployment portal for your framework (e. g. , ignite for Rollkit) to generate the base structure of your rollup.
- Integrate Celestia DA: Configure your chain’s DA module so that transaction data is posted directly to Celestia. Double-check parameters such as endpoint URLs, authentication tokens, and batch posting intervals.
- Add custom modules: Whether you’re building an NFT marketplace or a novel DeFi primitive, extend your chain’s functionality by creating new modules or smart contracts within the execution layer.
Remember to consult each framework’s documentation for detailed command references and configuration file examples. The modular approach means you can iterate quickly without touching low-level consensus code.
Step 5: Deploying and Testing Your Custom Rollup
This stage is all about validation. Start by deploying your rollup on a testnet environment, Celestia’s Mocha testnet is widely used for this purpose. Connect your rollup node to a running Celestia light node and monitor how data batches are posted and retrieved.
Deploying a Custom Rollup on Celestia with Rollkit: Visual Step-by-Step Guide
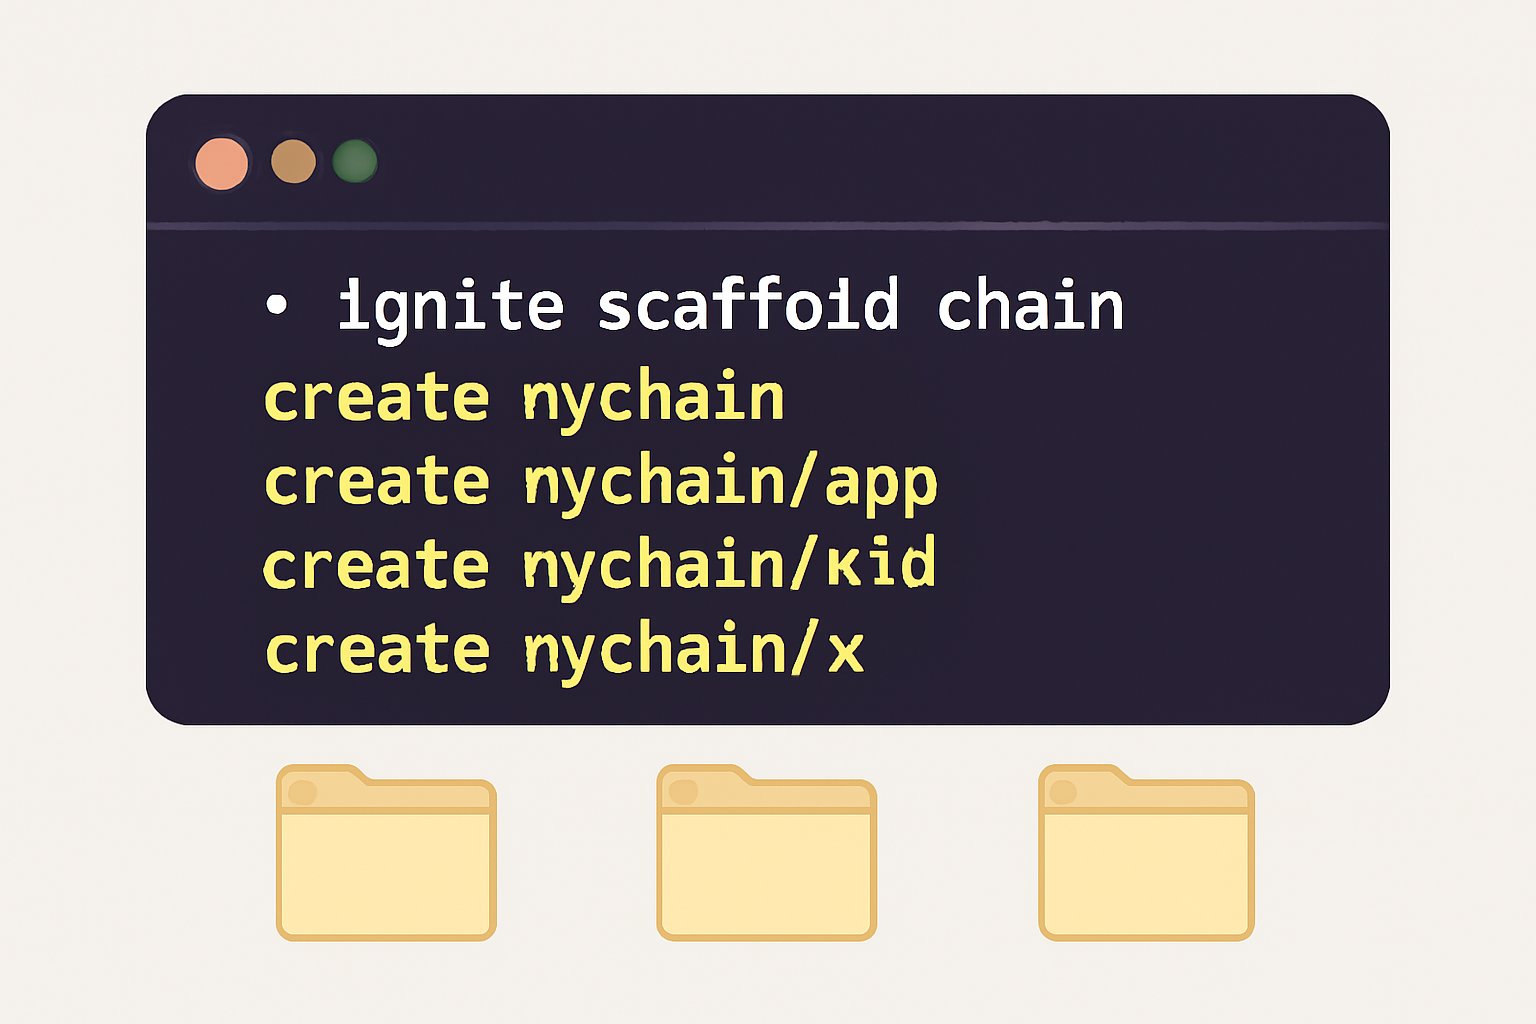
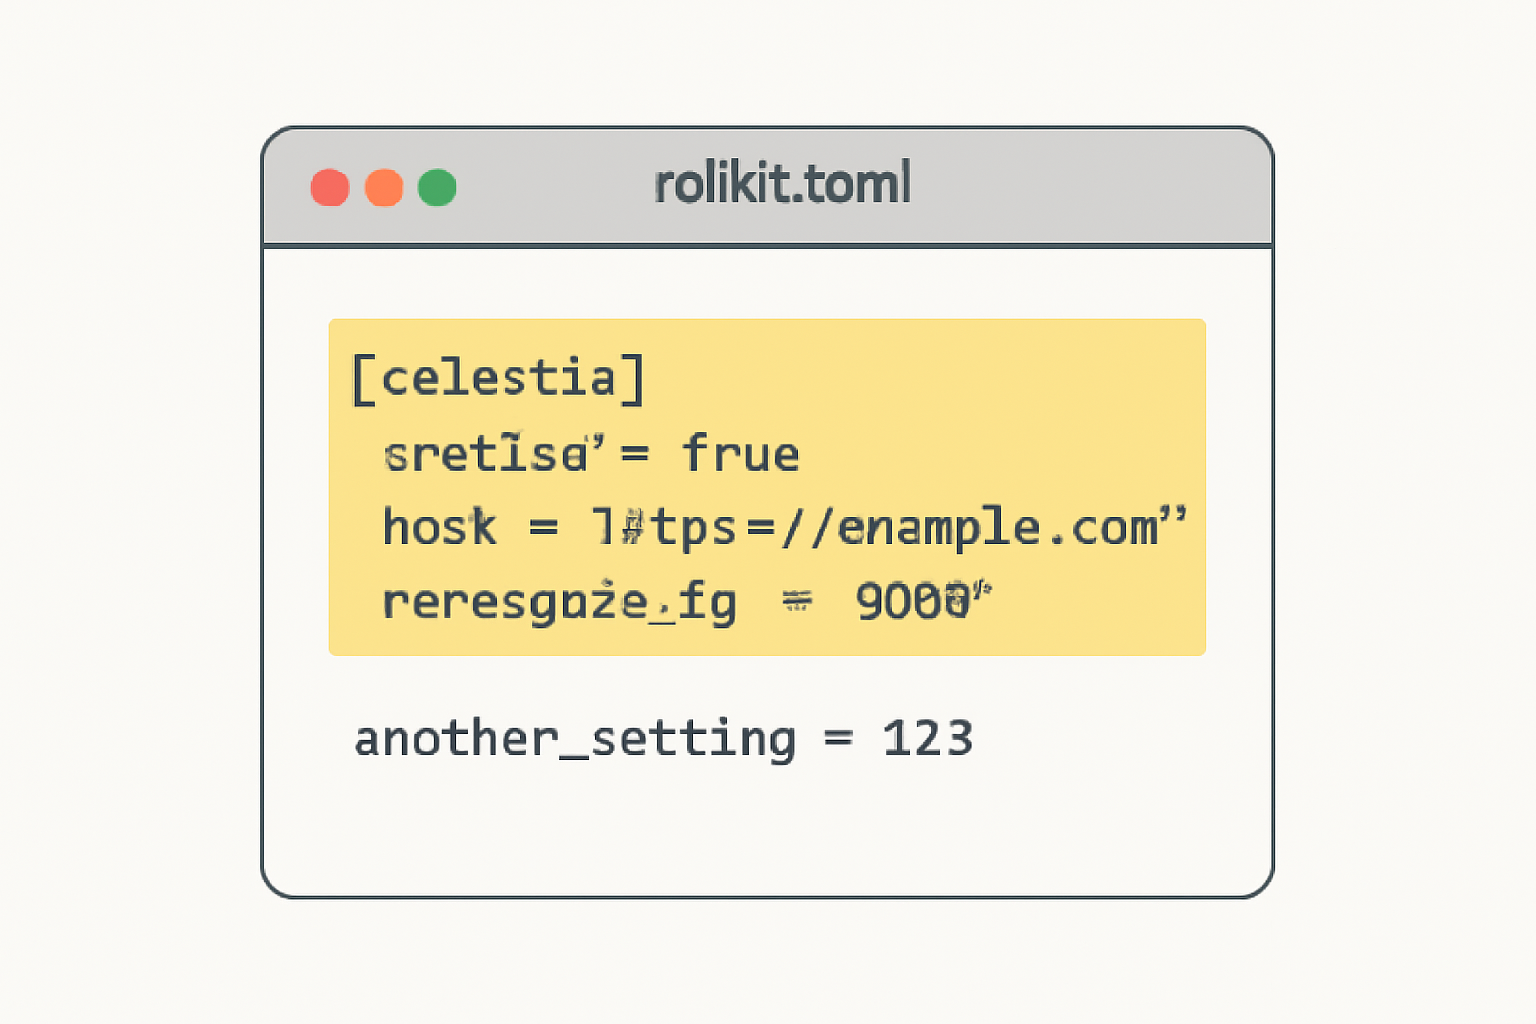
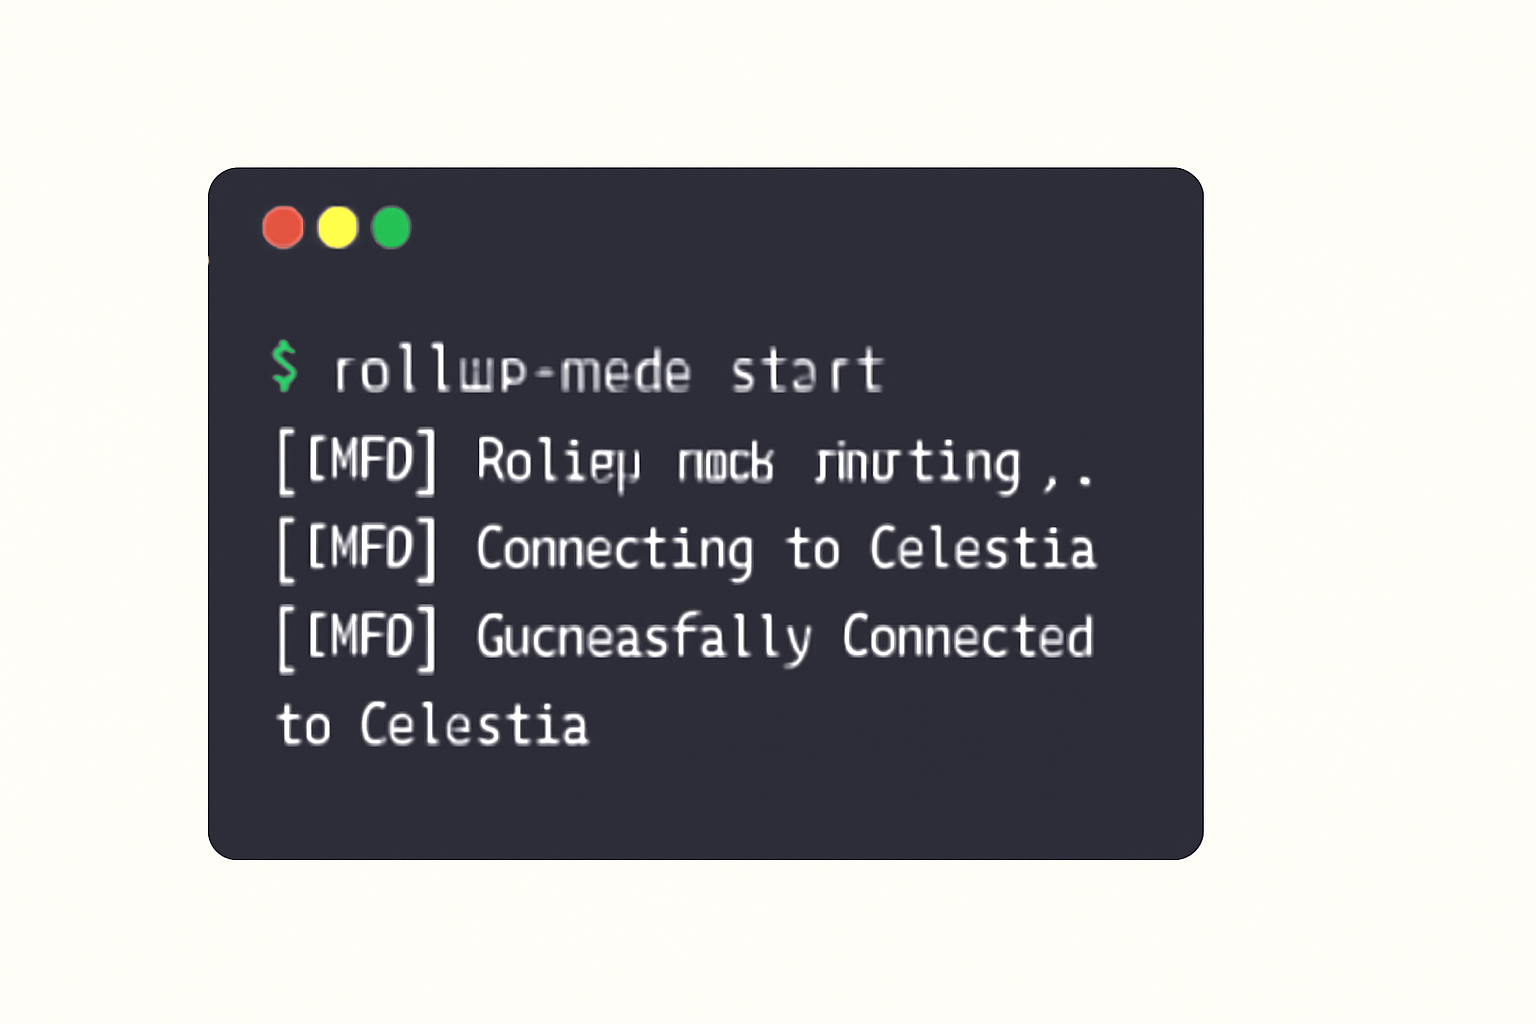
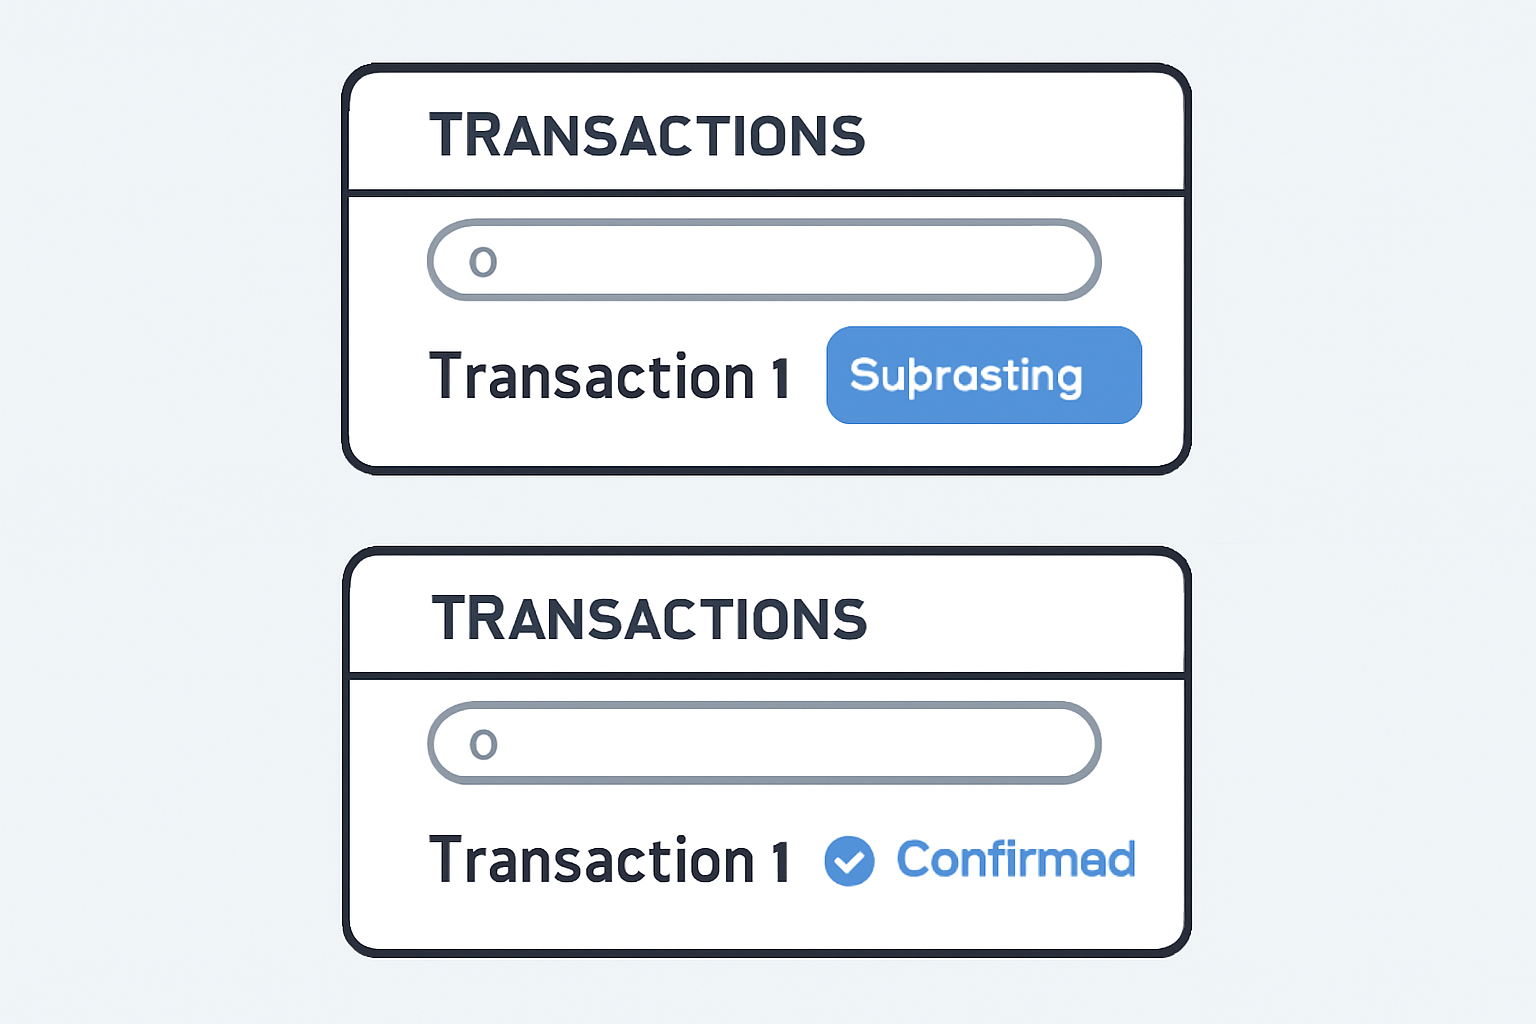
Testing is critical: simulate real-world scenarios by submitting transactions, triggering module logic, and observing how data propagates through the network. Watch for failed posts or latency issues in the DA layer, these are often configuration-related and can be resolved with tweaks to batch sizes or timeout settings.
Step 6: Monitoring, Maintenance, and Upgrades
Your rollup launch isn’t the finish line, it’s just the beginning of an ongoing process. Modular blockchains demand active monitoring to ensure uptime, security, and cost efficiency. Here’s what sets successful deployments apart:
- Real-time analytics: Use Celestia’s dashboards or third-party monitoring tools to track data availability guarantees and network health.
- Upgrade strategies: Plan for upgrades by modularizing core components; frameworks like Rollkit allow hot-swapping execution logic with minimal downtime.
- User feedback loops: Engage early adopters via community channels, rapid bug fixes and feature requests drive adoption in this fast-moving ecosystem.
If you’re looking for more hands-on troubleshooting tips or want to share upgrade experiences with other developers, check out our in-depth resources at our full deployment guide.
Best Practices and Community Resources
The modular blockchain community thrives on collaboration. Don’t hesitate to join forums, Discord servers, or developer calls hosted by Celestia and partner frameworks. Some key recommendations as you scale from testnet to mainnet:
- Avoid hardcoding endpoints: Always use environment variables for DA URLs and secrets.
- Pace mainnet launches cautiously: Start with limited access periods before opening up public RPC endpoints.
- Document everything: Clear internal docs speed up onboarding new contributors as your project grows.
- Tune batch posting intervals: Optimize for both cost (DA fees) and liveness, Celestia makes this flexible but defaults aren’t always ideal for every use case.
Your Modular Blockchain Journey Starts Here
The ability to deploy a custom rollup on Celestia marks a pivotal shift in blockchain development, one where execution innovation is decoupled from consensus bottlenecks. Whether you’re building an enterprise-grade dApp or experimenting with new VM architectures, Celestia empowers you with scalable infrastructure that keeps pace with user demand.
Dive deeper into technical walkthroughs or contribute your own learnings at our continually updated resource hub: How to Deploy a Custom Rollup on Celestia: Step-by-Step Guide for Developers.




No comments yet. Be the first to share your thoughts!